Mortal Shell 2 Bosses
Every named boss and mini-boss confirmed in Mortal Shell II — what they do, how to break them, and what they drop.
The Ritualist Fights
Mortal Shell II's bosses are framed as ritual encounters — set-piece fights that anchor each region's progression. The open beta's official announcement promised "dungeons, mini-bosses, and one truly formidable foe" in the opening content alone, and the full game expands that across every region. What all ritual fights share: they're posture battles. Dodge through their pressure, break their poise, and the critical-strike window is where the fight is actually won.
The Main-Story Boss Count
Launch-week coverage counts ten main-story boss fights in Mortal Shell II, while complete playthrough lists now document 11 required encounters when the tutorial and prologue fight are included. The difference is a matter of counting convention: lists that exclude the prologue Tar Golem arrive at ten, while a full story-required route records all 11 fights shown below.
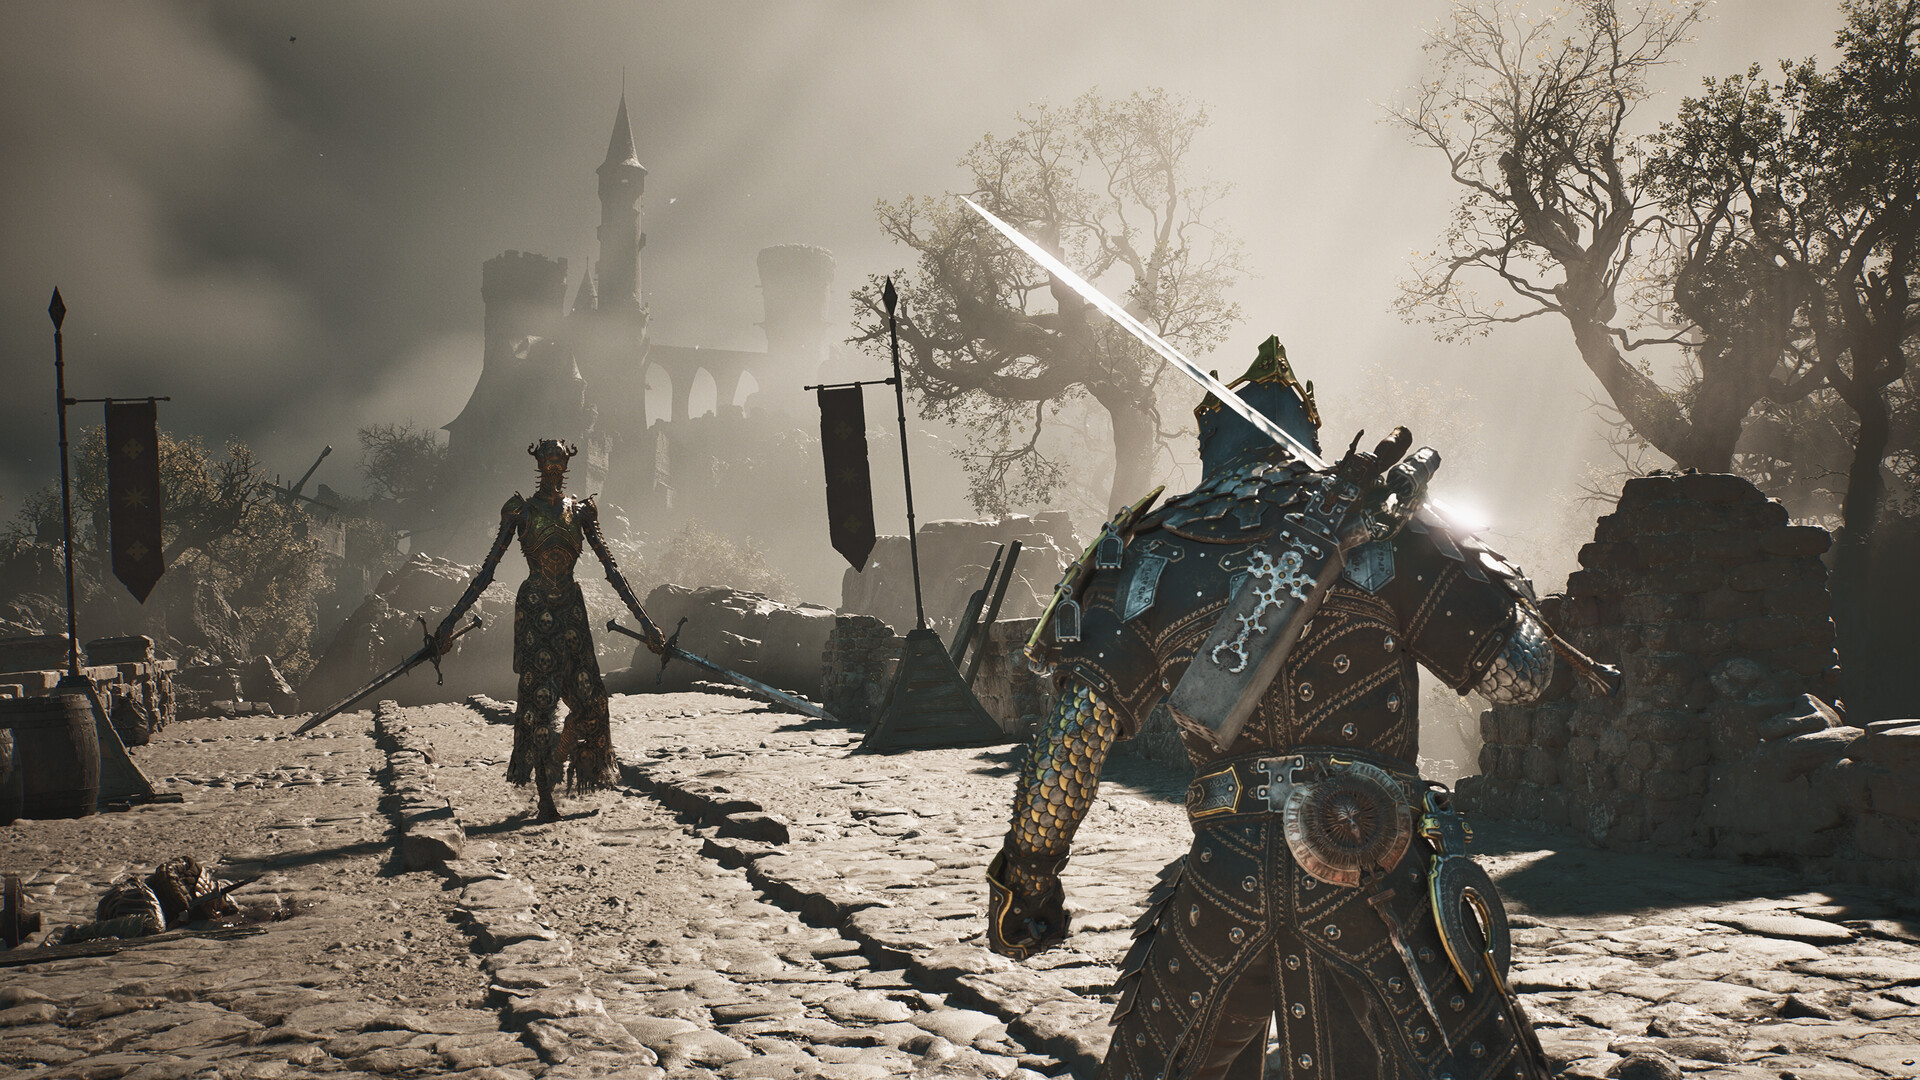
Gloombound Ritualist
The Gloombound Ritualist is the first named boss most players meet — it anchors an early ritual encounter in the opening stretch (100% walkthroughs place the fight before the first Beacon network fully opens). Player reports describe it as a melee ritualist with telegraphed combos, the perfect teacher for the game's parry and posture mechanics.
Break its posture twice before committing to big damage; the first stagger window is shorter than it looks. A sidearm shot during its recovery cancels its follow-up. A full attack-by-attack breakdown is coming with the dedicated boss pages.
Tar Golem
The Tar Golem is a missable encounter — 100% guides flag a trophy tied to fighting it, and the trigger window can be permanently skipped if you advance the area's story first. Reports describe a heavy, slow creature made of tar that punishes greedy combos: hit it during its recovery animations and back off when its limbs start moving.
Do not rush the area it appears in. Clear side paths before the main story trigger — the exact trigger conditions are being documented and will be added here.
Complete Main Boss Roster
| # | Boss | Area | Key Notes |
|---|---|---|---|
| 1 | Tar Golem | End of the prologue | This tutorial boss is usually designed to defeat you, but taking its health to zero triggers “No, You Still Can't Win.” |
| 2 | Magdalena, the Lady of the Woods | End of Glutted Mire | Her wheelchair's spiked front roller makes most attacks unblockable. Strike the wheelchair from behind; repeated rear hits can stun her without filling the entire stun bar. |
| 3 | The Lost Child | End of Sanguine Caverns | Harden can block the large blob's bites, but you need to dodge its jumping slam. Its arm swings have a long wind-up. |
| 4 | The Nameless Captive | End of Prisoner's Domain | This fight is built around parries and clearly telegraphed attacks. Parry every second-phase headspin for “Peter's Perfect Parry.” |
| 5 | Droeg, the Conquerer | End of Conquered Temple | A large, slow boss armed with stomps and a bone club. He deals Frost damage, so equip Martyr's Ash in a passive slot or improve Eredrim's Frost resistance. |
| 6 | Hexapod | End of Withered Shoals | Its eight limbs attack only toward the front, but each swing covers a wide area. Harden is strongly recommended. |
| 7 | Sir Isaac, the Scholar-Prince | End of Faded Citadel | His first-phase sword strings are easy to parry, allowing frequent stuns with the Infinite Seal. The second phase raises the difficulty sharply. |
| 8 | Malborn Offspring | The Unbound Path endgame area | One of the game's hardest fights, with two full health bars, fast multi-hit sword strings and an instant-kill grab. A heavy Shell can survive the grab. |
| 9 | The Monolith | The Unbound Path | This moving wall's only weak point is the hanging section between its two halves. Balance Patch 1 retuned its attacks, but it still hits hard — take the fight slowly. |
| 10 | Orrem, the Reclaimed | The Unbound Path | Orrem reuses the Tar Golem moveset but deals Bloodcurse damage; equip Bloodseed in a passive slot. The first phase is easy to circle and punish from behind. |
| 11 | Zmey, the Unbidden | Center of The Unbound Path | The final boss is a sword-wielding dragon with an enormous health bar. Seedbearer's Scripture is strongly recommended for its Cosmic damage resistance. |
Harden is the safest universal answer while you learn these encounters, but resistance passives matter whenever a boss leans on Frost, Bloodcurse or Cosmic damage. The Unbound Path closes with a punishing three-fight sequence, so settle your Shell, weapon and defensive setup before committing to that run.
Beyond the Main Roster
The story route is only the spine of the hunt. Community reports count around 45 bosses across the full game, with the 11 required encounters in the table above forming the main path. The remainder is made up of optional bosses and other named fights scattered beyond that route, but the community map is still a work in progress: not every encounter has a settled name and location yet.
These are the additional named fights confirmed so far. Where a location is still being charted, the list says so instead of pointing you at a guessed landmark:
- Tainted Vestige — exact location still being mapped.
- Great Arbiter of Flesh — encountered in the area south of Widow's Overlook, on the approach toward the Ravaged Tomb.
- Vrannic the Grand Illusionist — exact location still being mapped.
- Bor the Deluded Monarch — exact location still being mapped.
- Twin Sesters — exact location still being mapped.
- Sester Secundus — fought in Revenant Graves; this encounter leads into Genessa's Shell unlock route.
- Urrig the Executioner — exact location still being mapped.
- Vellen, High Lord of Mammon — fought in the Royal Crypt of Mammon, within the Ruins of Mammon route; defeating Vellen opens the way to Lazlo's Shell.
- Sariel the Endless — fought at the Chamber of Becoming in the Ruins of Mammon, where victory lets you claim Sariel's Shell.
- Gloombound Ritualist — covered in the dedicated encounter notes above.
Treat this as a route-planning list: the count gives you the scale of the hunt, and the named entries are the fights you can track today. More optional encounters will join this section as their names and locations are confirmed, so check back before assuming the 11-boss story run has shown you everything Mortal Shell II is hiding.
Seedbearer's Scripture: How to Get It
The Seedbearer's Scripture — the item the final fight against Zmey strongly rewards you for carrying — is obtained through a three-part ritual, according to player reports. One Gland is found in each of three main-story regions:
- Conquered Temple — the region anchored by Droeg, the Conquerer.
- Withered Shoals — the region anchored by Hexapod.
- Faded Citadel — the region anchored by Sir Isaac, the Scholar-Prince.
With all three Glands collected, return to Sester's Gate at night and perform the sacrifice there. The Seedbearer's Scripture is the reward, and its Cosmic damage resistance is exactly the defence the Unbound Path's closing three-fight gauntlet — ending with Zmey — asks for.
Grisha & Grisha Remnants
Grisha appear throughout the early game as elite enemies — the prologue's first real threats, and repeat encounters in the open world. First-day guides distinguish two things:
- Grisha encounters — elite fights with big health pools; treat them like mini-bosses early on.
- Grisha Remnants — collectible remnants tied to a named hunt; gathering all of them is a completionist checklist item.
General Boss Strategy
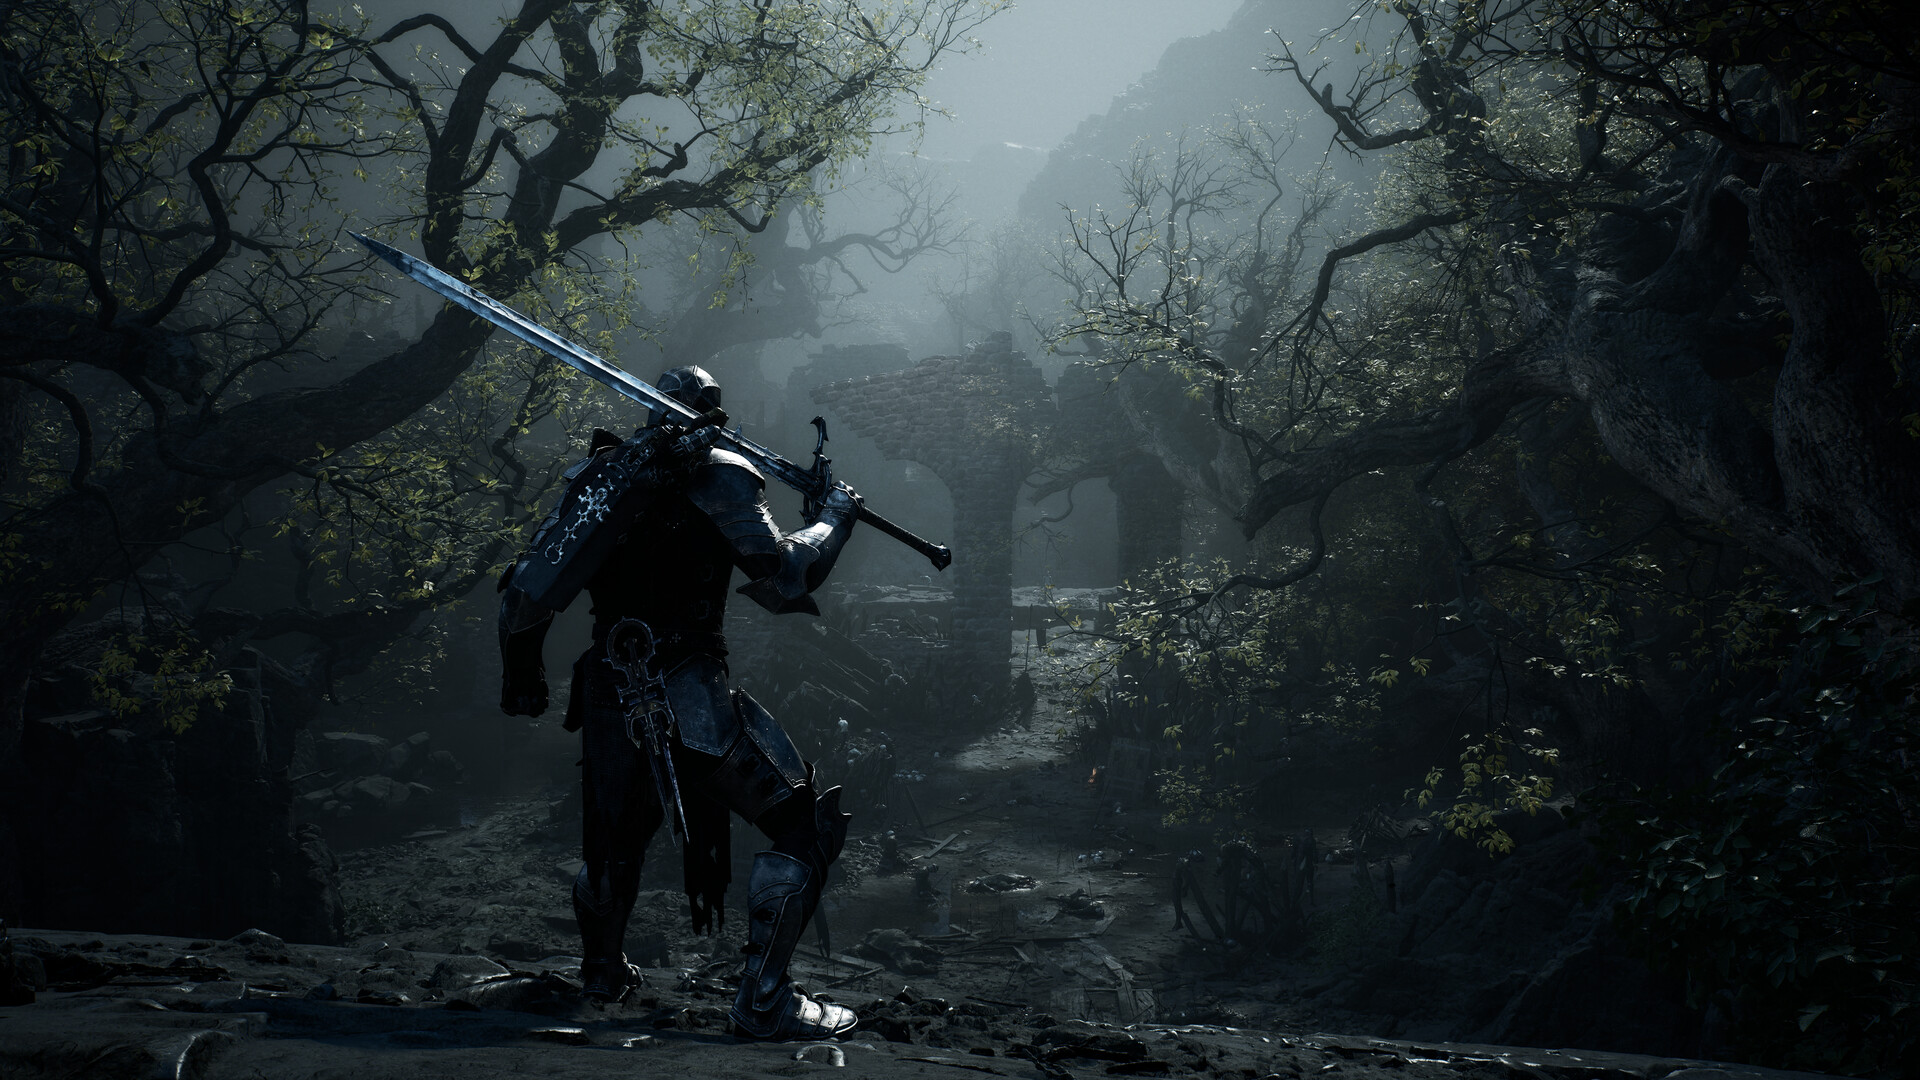
Until every boss has its own page, this universal framework — built from verified combat systems — will carry you through any ritual fight:
- Learn the posture math. Bosses stagger after enough poise damage. Heavy attacks, parries and charged hits contribute far more than light spam.
- Punish the recovery. Every boss has punishable recovery frames after combos — that's your damage window, not during their attack.
- Use your sidearm mid-combo. A Repeater shot during an enemy wind-up interrupts aggression and adds posture damage safely.
- Traps and barrels are legal. Arena barrels and environmental traps do serious posture damage to bosses that chase you into them.
- Match Shell to fight. A fast Shell (Tiel, Proxima) dodges through pressure; a heavy Shell (Eredrim) trades and out-poises. Don't force one playstyle.
- Carry a levelled Tarstone weapon. Posture and damage both scale with your weapon level — a maxed Tarstone makes every boss shorter.
Boss-by-boss pages with full attack patterns, video timestamps and reward tables are next on the update schedule — this index is rebuilt as each is verified.