Mortal Shell 2 Map & Collectibles
The world of Mortal Shell II is interconnected but not obvious — this is the running guide to regions, beacons, dungeons and every collectible type.
Regions
Mortal Shell II's open world is "expansive yet deliberately compact" — one connected landmass rather than disjointed zones. The regions confirmed so far:
| Region | Role | Status |
|---|---|---|
| Marrowkeep | Prologue stronghold; the game's tutorial spine and first forge. | Confirmed |
| Mushroom Village | First open-world region; Tiel's Shell and early gear. | Player report |
| Garrick's Den | Early dungeon with material and vestige rewards. | Player report |
| Blackridge Pass | Pass northeast of the starting areas; Proxima's Shell waits at the Shattered Beacon. | Player report |
| Citadel of Penance | Home of the Warden's arena, where Eredrim's Shell is claimed. | Player report |
| Temple of Vatra | Early ritual landmark; the trail from the Heart of Vatra leads toward the One-Legged Wolf Tavern. | Player report |
| One-Legged Wolf Tavern | Waypoint region holding Gragu's Shell. | Player report |
| Outskirts of Nochte | Western ritual ground where Smert's Shell is found. | Player report |
| Crypts of Mammon | Burial labyrinth below Mammon; Lord Vellen guards Lazlo's Shell here. | Player report |
| Abbey | Named in launch-week coverage; full details being compiled. | Player report |
| Chamber of Becoming | Late-game chamber where Sariel's Shell is collected. | Player report |
| Ventrium areas | Named in 100% walkthrough chapter markers as a mid-opening stretch; exact nature pending. | Pending |
Mid-game and late-game regions are being mapped by completionist runs as of launch and will be added here as they're verified — track updates on the changelog.
Unlocking the Map
The world map doesn't switch on all at once — Mortal Shell II doles it out across the opening hour, and the sequence is easy to miss if you're not looking for it. Player reports describe an early mini-boss fight that's meant to be lost: the encounter is unwinnable by design, and losing it is the step that unlocks Harden, the defensive ability at the heart of the combat loop. From there the trail climbs to a circular clearing at the cliff's edge, where your first Ova is waiting.
That pickup is the start of a collectible thread that runs through the whole game: you hatch from an Ova in the prologue, siphon eight of them to unlock the Troubadour's Lute sidearm, and the "Bring My Ova Back to Me" trophy tracks every last one. Treat the first-hour find as the opening of the map fragments hunt — fragments fill in the region map, Ova extend the same checklist, and both are worth grabbing before you call an area done.
The Beacon Network
Beacons are the connective tissue of the map. Cleansing a beacon does two things: it becomes your respawn point, and it joins the Mether's Breath fast-travel network. The practical map advice from every early guide:
- Cleanse on sight. Unlit beacons are a wasted safety net.
- Beacons mark progress. A region's beacon count is a rough "how much is left here" meter.
- Fast travel is the meta. Once two beacons are lit, you never need to walk a cleared path again.
The Week 1 Update (August 29) expanded the network in two ways that change how you route through the world. New beacons have appeared across Fainweald and Mammon — but these only activate during the day, so a night-time visit finds them dark. And Mini-Beacons no longer award a Glimpse when cleansed, so don't count on them as a Glimpse source.
Fog-Gated Dungeons
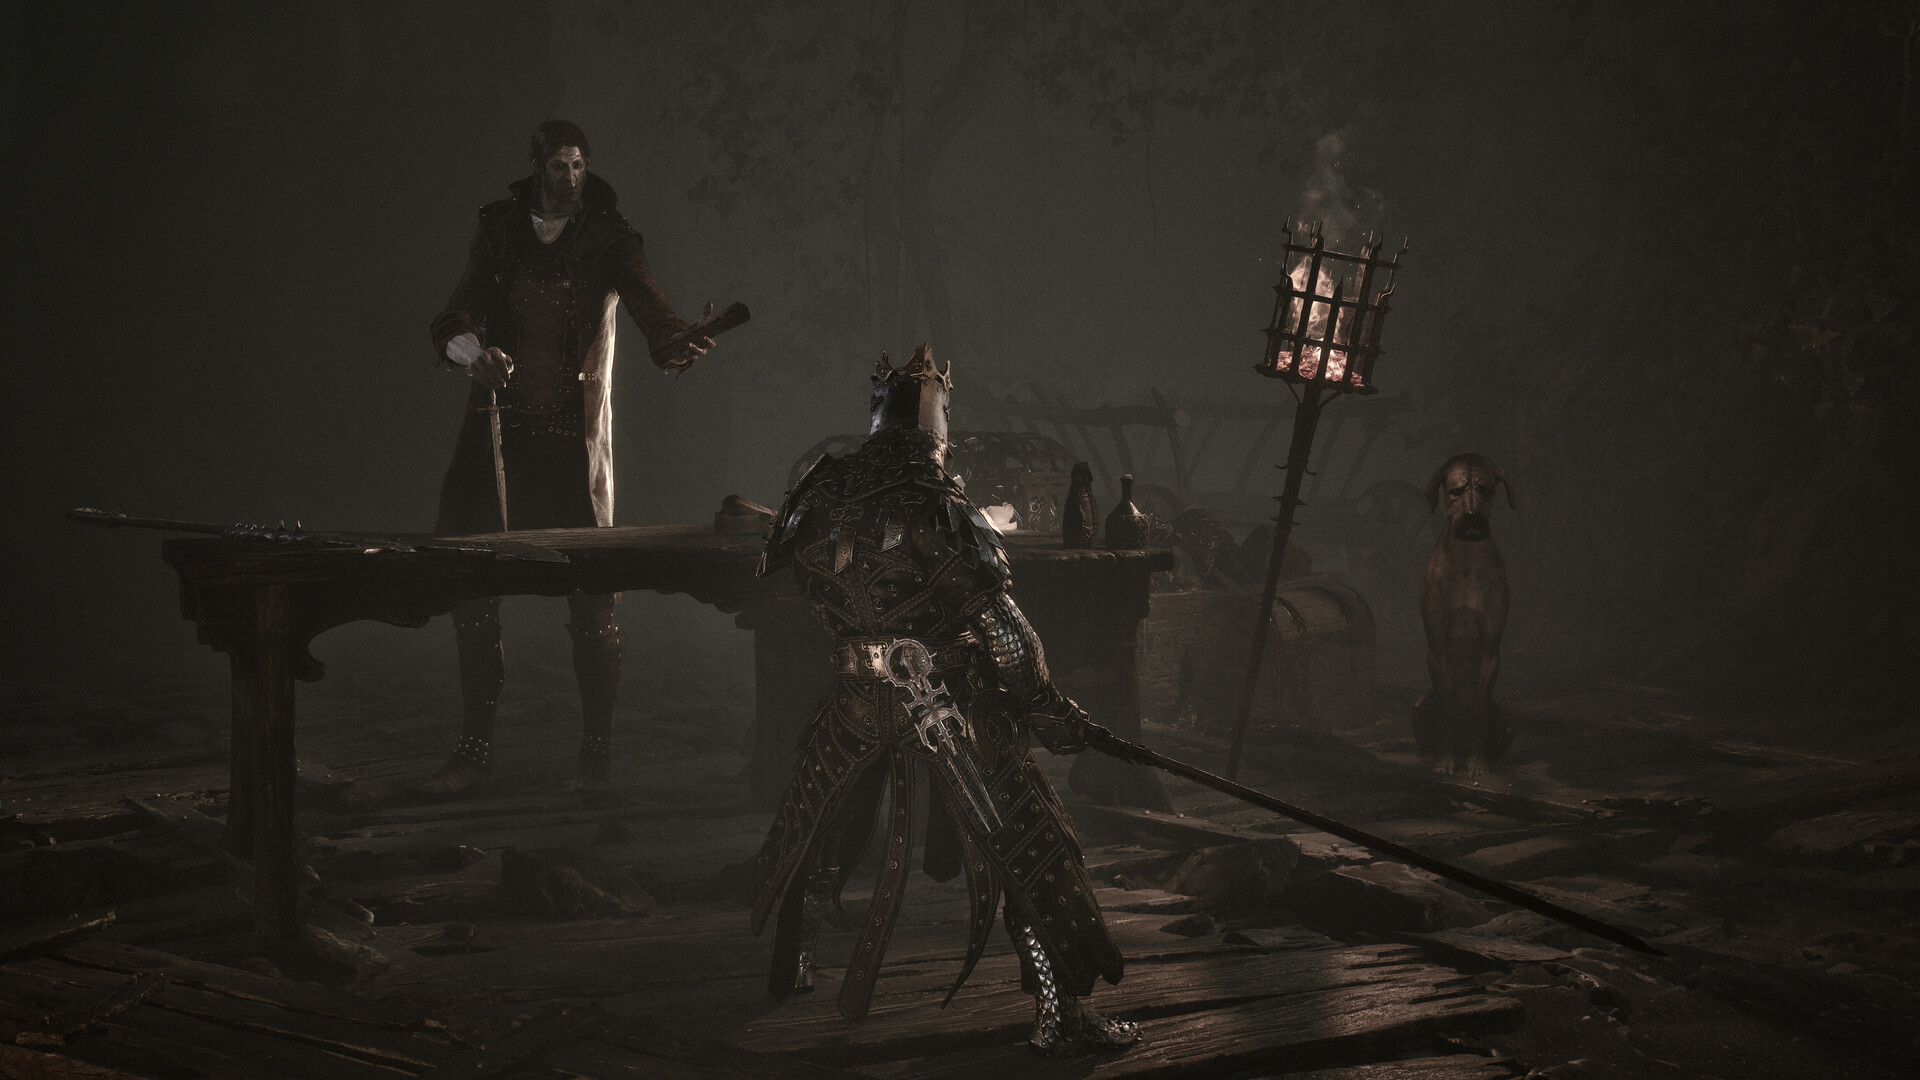
Fog-gated dungeons are instanced challenge rooms scattered through the world — short, dense encounters with real rewards (Tarstones, materials, sidearms). The rules players have confirmed:
- They are one-time — cleared dungeons do not re-open, and abandoned ones may not reset.
- Mark them on sight; the map has a tracking option, use it.
- Difficulty varies by region; a dungeon in a region you've out-levelled is trivial, so clear as you go.
The Three-Lights Door (The Unbound Path)
Player reports describe a hidden door sealed by three fire bowls in the endgame Unbound Path area. The door can't be opened directly — you first have to light a bowl in a hidden side room. According to the community reports, the route goes like this:
- Enter the Empty Cradle beacon and head forward until you reach a spot where spider-like enemies are fighting other mobs.
- Look for a large breach in the wall on the right and crawl through it.
- Defeat the enemies inside the breach, then light the fire bowl there.
- Return to the sealed door — it will now open.
The reward is modest for how well hidden the door is — a weapon-upgrade stone (reported as one, plus a five-piece stack) and a scripture-type item — which has led some players to suspect a secret behind the secret. The location and solution are community-reported, so details may shift as more players confirm them.
Collectibles by Type
Every region contains the same collectible families. Counts per region are being confirmed; the types are locked in:
- Tarstones — upgrade stones; some found in the world, others from dungeons and bosses.
- Map fragments — each one reveals more of the region map; hunt them before judging an area "done."
- Grisha Remnants — a named collectible hunt tied to Grisha elites.
- Named relics — Vatra's Seal, Coin of Mammon, Devout's Chalice and Infinite Seal are confirmed pickups from 100% runs; functions pending documentation.
- Materials — laterite and tainted vestiges appear in early regions and feed forging.
Community-made interactive maps now cover the overworld and dungeon interiors, with screenshots and short guides on every marker — handy when hunting the last collectibles.
Missables
Tar Golem — a missable trophy encounter that can be permanently skipped by advancing the area story. "Mid Summer" trophy — missable during the opening stretch. Details on both are on the walkthrough missables section.
An interactive map with per-item checkoffs is planned once every region is fully mapped — this page will link to it when it ships.