Mortal Shell 2 Upgrade System Guide
Three progression tracks, three very different kinds of value, and one upgrade order that keeps a promising first run from becoming an expensive mess.
Nothing hurts quite like discovering that your bold new build is really three half-built ideas wearing the same armor. Mortal Shell II makes every upgrade look tempting, then asks you to notice that Shell Points, Shell Bond, Tarstone XP, and Gloom do not buy the same kind of progress.
The clean route is focus, not hoarding. You pick the Shell you intend to develop, finish the investments that travel well, and delay the brutally expensive final percentages until the rest of the build can already carry a fight.
The Three Upgrade Tracks
The Mortal Shell 2 upgrade system is not one ladder. You play as the Harbinger, who can inhabit eight playable fallen warriors as Shells, with Harros the Vassal serving as the prologue Shell. A Shell supplies its attributes, health pool, and exclusive active ability, but changing bodies does not erase the Harbinger's own skill-point and upgrade progress.
That distinction is the spine of the system. Each Shell has a 12-skill tree, and every skill level costs one Shell Point. Shell Bond is a separate investment made with Glimpses at the Shellkeeper; 27 Glimpses takes one Shell to maximum Bond and opens its full attribute and ability potential. A Tarstone follows a third route, gaining its own XP from kills while it is equipped until it reaches level four. Since the Week 1 Update, Glimpses and Tarcores are no longer finite resources, so none of these tracks runs out mid-playthrough.
| Upgrade track | What advances it | What carries forward |
|---|---|---|
| Shell Points | One Shell Point pays for one skill level in a Shell's 12-skill tree. | Your own progression remains when the Harbinger changes Shells; a body swap is not a progression reset. |
| Shell Bond | Spend Glimpses with the Shellkeeper; maximum Bond costs 27 Glimpses per Shell. | The investment develops the chosen Shell's full potential, so your choice of main Shell matters. |
| Tarstone XP | Kills made while the Tarstone is equipped build its progress, up to level four. | The level belongs to the stone. Move it to another weapon and that level remains. |
Gloom sits beside those tracks as forge fuel — and since the Week 1 Update made Glimpses and Tarcores non-finite, it is the upgrade resource that actually runs out. Smelting and Tarforge weapon upgrades spend it, but a dependable per-level Gloom cost curve for the Harbinger has not been fully documented. The practical plan is therefore built around the uses that are clear: protect Gloom, spend it deliberately at the forge, and do not confuse it with Glimpses or the XP stored in a Tarstone.
Once you separate those jobs, the upgrade system becomes readable. Shell Points shape skills, Bond completes a chosen body, Tarstone XP builds a portable weapon investment, and Gloom pays for forge work. The resources touch the same build, but they are not interchangeable.
Gloom: The Fuel Behind Every Forge Decision
Gloom is where the Mortal Shell 2 upgrade system starts feeling dangerous, because you can lose it before you ever reach a forge. Death leaves your Gloom at the place you fell as Lost Gloom. You can recover that drop, but dying again before the recovery makes the loss permanent. Any trip made with a planned weapon upgrade in mind should respect that second death.
The known forge route begins early. Marrowkeep contains the first forge players reach, while the Tarforge serves as the standard weapon-upgrade station and the Obsidian Lathe pushes weapon levels further later on. Fully unlocking the Tarforge requires five pieces: the Muradean Actuator, Obsidian Lathe, Etching Needles, Foundry Stone, and Endless Core. Reaching Tarforge level four specifically requires the Etching Needles.
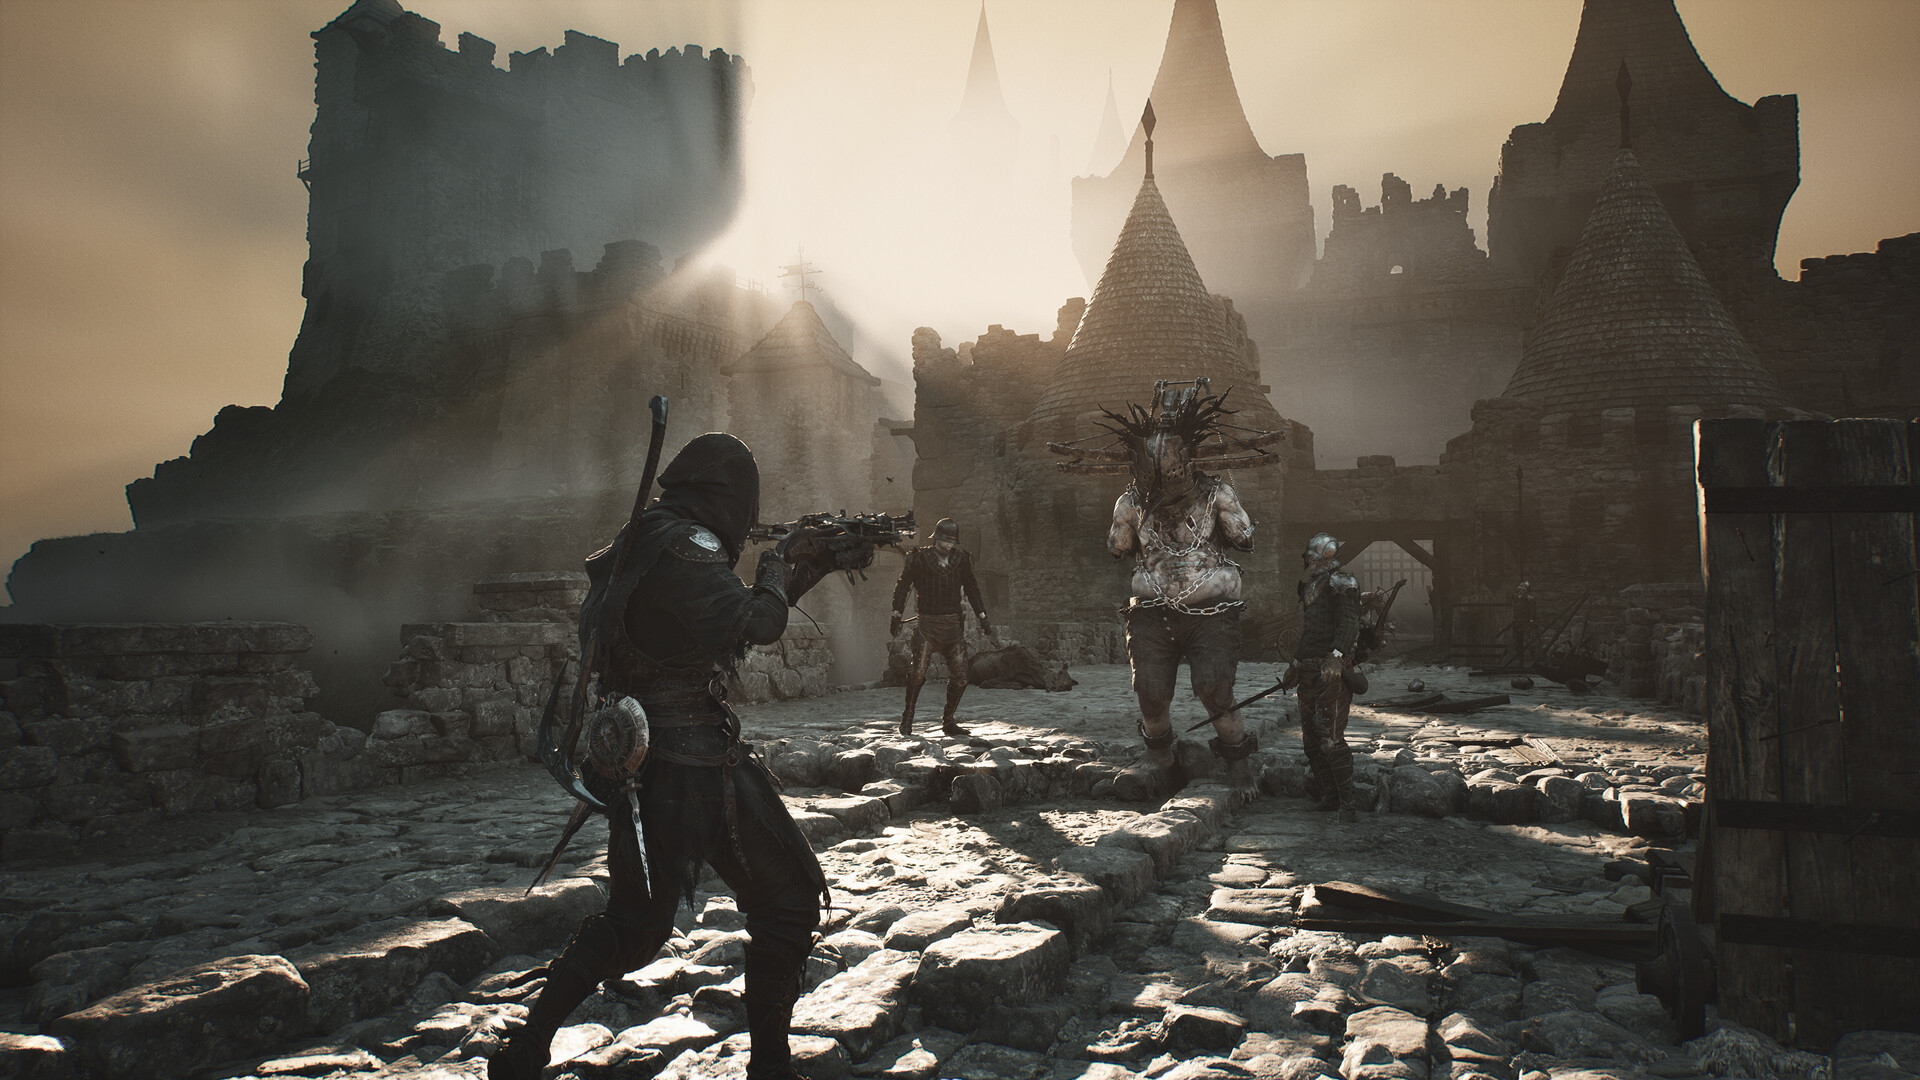
Smelting also happens at the Tarforge. It spends Gloom and returns gold, although Balance Patch 1 on August 21 cut that Gloom cost by 75%. The same patch moved Shell map-location purchases from Glimpses to Gloom and refunded previously spent Glimpses in the Shell Keeper's alcove at Blackmarrow.
Enemy gold drops rose sharply as well, with enemies in Mammon paying double gold. The patch notes matter here because they change the economy you are actually playing, not the economy that existed at launch.
The costly edge of weapon development belongs at the end of your plan. Player reports describe late weapon and Tarstone tiers asking for tens of thousands of Gloom in exchange for single-digit percentage gains. Treat that stretch as specialization or completion work, not routine upkeep. Maxing a weapon at the Tarforge does earn the “Over 9000” achievement, but an achievement target and an efficient first-run target are not automatically the same thing.
No complete Harbinger level-by-level Gloom schedule has been documented yet, so exact prices would create false precision. What you can act on is firmer: Gloom funds smelting and Tarforge upgrades, a second death before recovery permanently erases your Lost Gloom, and the final gains are expensive. Spend toward the weapon route you mean to keep.
Shell Points: The Progression That Follows You
The Harbinger is the constant inside every borrowed body. When you inhabit a different Shell, your own progression—including skill-point investment and weapons developed with Tarstones—carries between bodies. That persistence makes experimentation possible, but it does not turn the eight playable Shells into copies of one another. Each has its own attributes, health pool, exclusive active ability, and 12-skill tree.
Shell Points are the clear unit inside those trees: one skill level costs one Shell Point. Glimpses are the XP-like currency behind skill points and upgrades, and the Week 1 Update made them non-finite: a single playthrough now supplies enough to fully develop every Shell, not just a few. The useful question is not “Can this skill be bought?” but “Does this purchase strengthen the Shell direction you have already chosen?”
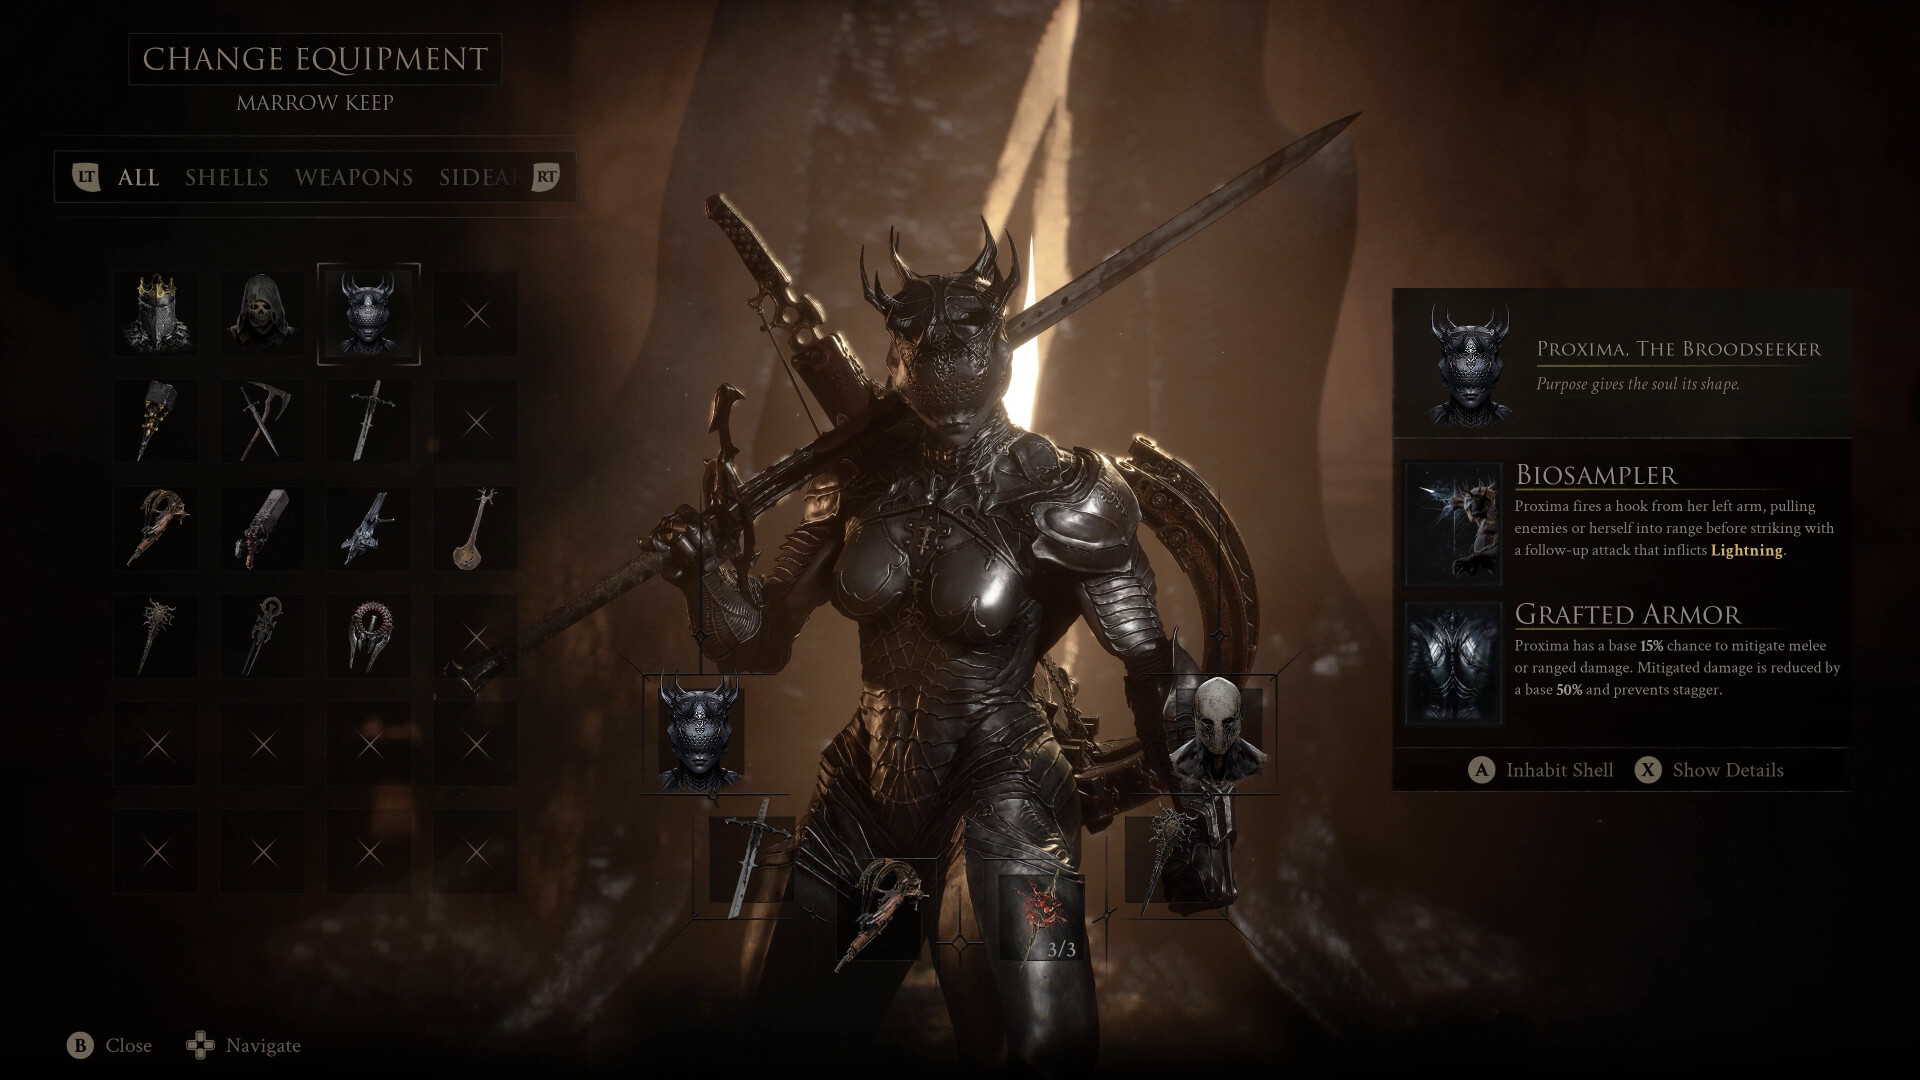
Start by naming a main Shell, then let its 12-skill tree define the lane for your early Shell Points. The fact that progress survives a body change is protection against a reset, not a reason to sprinkle Glimpses across every intriguing option. If you later switch Shells, bring your upgraded Tarstone to the new weapon setup; the stone retains its own level, so one strong portable investment can steady that transition.
A respec gives you a way to correct a bad direction, and the Week 1 Update made it painless: Mether's Severance, handed to Zhirelle the Shellkeeper, severs your Bond with a Shell and refunds every Glimpse you spent on it. It still works best as a repair tool after a meaningful change of plan rather than a habit — and Gloom, not Glimpses, is the resource you are protecting when you commit. You can compare bodies in the Shell guide before committing and use the build guide to keep skill choices pointed at one combat identity.
That is the real value of permanent Harbinger progression: it preserves momentum while you choose a body. Focus still matters. Your Shell Points should build one coherent tree, your Glimpses should support the Shells you truly intend to finish, and your portable Tarstone should cover a weapon change without demanding a second grind from zero.
Shell Bond: Why 27 Glimpses Beat Every Late Tier
Shell Bond is the upgrade that turns preference into commitment. You deepen Bond with a chosen Shell at the Shellkeeper, and maximum Bond opens that Shell's full attribute and ability package. The price is fixed at 27 Glimpses. Reaching that maximum also satisfies “Decked Out,” the achievement for reaching the highest bonding tier with a Shell at the Shellkeeper.
That fixed cost gives the Mortal Shell 2 upgrade system a useful benchmark. Since the Week 1 Update, a single playthrough holds enough Glimpses to take all eight playable Shells to maximum Bond — 216 Glimpses in total — so broad completion and a strong first-run build no longer compete for the same budget. The choice of a main Shell still matters because Bond shapes how a body plays, not because Glimpses run out.
Community reports consistently place Bond above the final weapon and Tarstone tiers for value. Those late tiers can demand tens of thousands of Gloom for single-digit percentage gains, while 27 Glimpses completes a Shell's Bond and releases its full potential. The Week 1 Update sharpened that comparison: Glimpses are no longer scarce, so Bond's cost is trivial next to the Gloom the late tiers eat. That comparison does not make every Shell equally suited to you; it makes a finished main Shell a better first destination than a collection of glamorous, underfunded endgame upgrades.
Max the Bond of your main Shell before chasing the final weapon and Tarstone tiers. If Genessa is part of your plan, complete her Bond during the first playthrough.
Bond-focused community rankings currently put Smert, Genessa, and Gragu in the top three, with Tiel outside that trio. Read that as evidence that Bond changes long-term investment decisions, not as a command to abandon the Shell whose rhythm works for you. The best Shell guide provides the broader comparison.
Genessa needs special planning. In New Game Plus, a reported issue may leave her stuck at the parry tutorial and unable to accept further Bond upgrades. Maxing her Bond in the first playthrough avoids placing that 27-Glimpse goal behind the problem later. For every other choice, the principle stays simple: finish the Shell you rely on before spreading Glimpses across a shelf of partial investments.
Tarstone XP: One Stone to Level Four, Then Every Weapon
A Tarstone is the most forgiving long-term piece in the Mortal Shell 2 upgrade system because its level belongs to the stone, not the weapon holding it. Fitting a Tarstone changes a weapon's scaling and adds properties. If you move that same Tarstone to another weapon, its existing level remains, so changing your melee choice does not force that stone back to the beginning.
The leveling method is its own XP track. Kills made while the Tarstone is equipped add progress, and level four is the cap. That is different from paying Gloom for another forge tier: the forge is where Tarstones are fitted and managed, while their level progress comes from combat with the stone equipped. The first forge in Marrowkeep lets you begin developing the first stone during the opening chapter.
This is why one finished Tarstone beats three unfinished ones. Community guidance consistently favors concentrating on a single stone until level four, then considering a second. Three stones sitting at level one divide the kills that could have produced one mature, portable upgrade and can leave a run short of power when difficulty rises. Focus preserves both your current build and your ability to change weapons later.
A level-four Tarstone can be moved to another weapon without losing its level. It does not raise every weapon at once; you carry the developed stone into the next setup.
There are about 73 Tarstones across the full map, and collecting them all earns the “Stoned” achievement. That total supports a completion goal, but it should not blur the first priority: develop the one you already use. Browse the weapons guide before branching, choose the scaling and added properties that fit your intended weapon route, and let kills advance that decision to level four.
The result is unusually flexible progress. Your Shell may change and your weapon may change, yet the developed stone can move with the plan. Build one reliable Tarstone first; make the second earn its place after the first has reached the cap.
Upgrade Priority: The Order That Spends Smart
A strong first run comes from buying complete advantages in the order they return value. The table below is the practical upgrade sequence: finish the main Shell's fixed-cost Bond, grow one portable Tarstone through combat, spend Gloom on the weapon path you will use, and leave the punishing final percentages for specialization. Since the Week 1 Update made Glimpses and Tarcores non-finite, this order is about value rather than rationing — Gloom is the budget that still needs protection.
| Priority | Investment | Cost or progress | Why it pays |
|---|---|---|---|
| 1 | Maximum Bond for your main Shell | 27 Glimpses at the Shellkeeper | Completes that Shell's attribute and ability potential; community reports rank Bond as the best-value major investment. |
| 2 | One Tarstone to level four | Kills while the stone is equipped | The level stays on the Tarstone when you move it to another weapon, giving the investment a useful life beyond one loadout. |
| 3 | Tarforge weapon upgrades | Gloom spent along your chosen forge route | Directs forge fuel into a weapon you intend to keep using instead of scattering it across experiments. |
| 4 | Late weapon and Tarstone tiers | Player reports describe tens of thousands of Gloom for single-digit percentage gains | These are specialization and completion purchases after the core build already works. |
Shell Points fit around that order by reinforcing the main Shell direction you chose before spending. Each Shell has its own 12-skill tree, and each skill level costs one Shell Point. Individual skill choices therefore belong to that Shell plan; use the one-point cost to build a coherent tree, not to force every body through the same sequence.
The bad version of this run is easy to recognize: Gloom sunk into a forge route you had not chosen, Tarstone XP divided across three level-one stones, and upgrade decisions made before the main Shell direction was set. None of those systems punishes curiosity by itself. They punish turning every curiosity into an upgrade bill.
Keep Genessa's first-playthrough Bond issue in mind if she is one of your planned Shells. Recover Lost Gloom before risking a second death. Move your developed Tarstone when a weapon change is real, and delay the costly final tiers until their narrow gains are exactly what you want.
If you need a playable route around these decisions, the beginner guide handles the opening hours and the build guide turns the resources into a focused loadout. The Mortal Shell 2 upgrade system rewards a simple discipline: finish the investments that define the build before paying for the ones that merely polish it.
Related Guides
The upgrade order only works when it serves a build you actually want to play. These four guides let you move from resource planning to the choices underneath it: which Shell gets the 27-Glimpse Bond, which weapon receives forge investment, which Tarstone setup deserves combat time, and what your first hours should look like before the expensive decisions begin.
Together, they answer the questions an upgrade table cannot settle for you. Pick the Shell first, understand the weapon route second, and use the beginner plan to reach those investments without wasting limited Glimpses or recoverable Gloom. Return here whenever a new purchase threatens to turn one finished plan into three unfinished ones.
↑ Back to top