Mortal Shell 2 Eredrim The Venerable Guide
Tank with Break Damage — Shoulder Bash + Ethereal Diapason, Slaughterer stacks.
Eredrim Quick Facts
Location
Citadel of Penance (Warden boss)
Combat Role
Tank with Break Damage — Shoulder Bash + Ethereal Diapason, Slaughterer stacks.
Best Build
The Iconoclast + Forgotten Crossbow. Jump to build ↓
How to Get Eredrim The Venerable
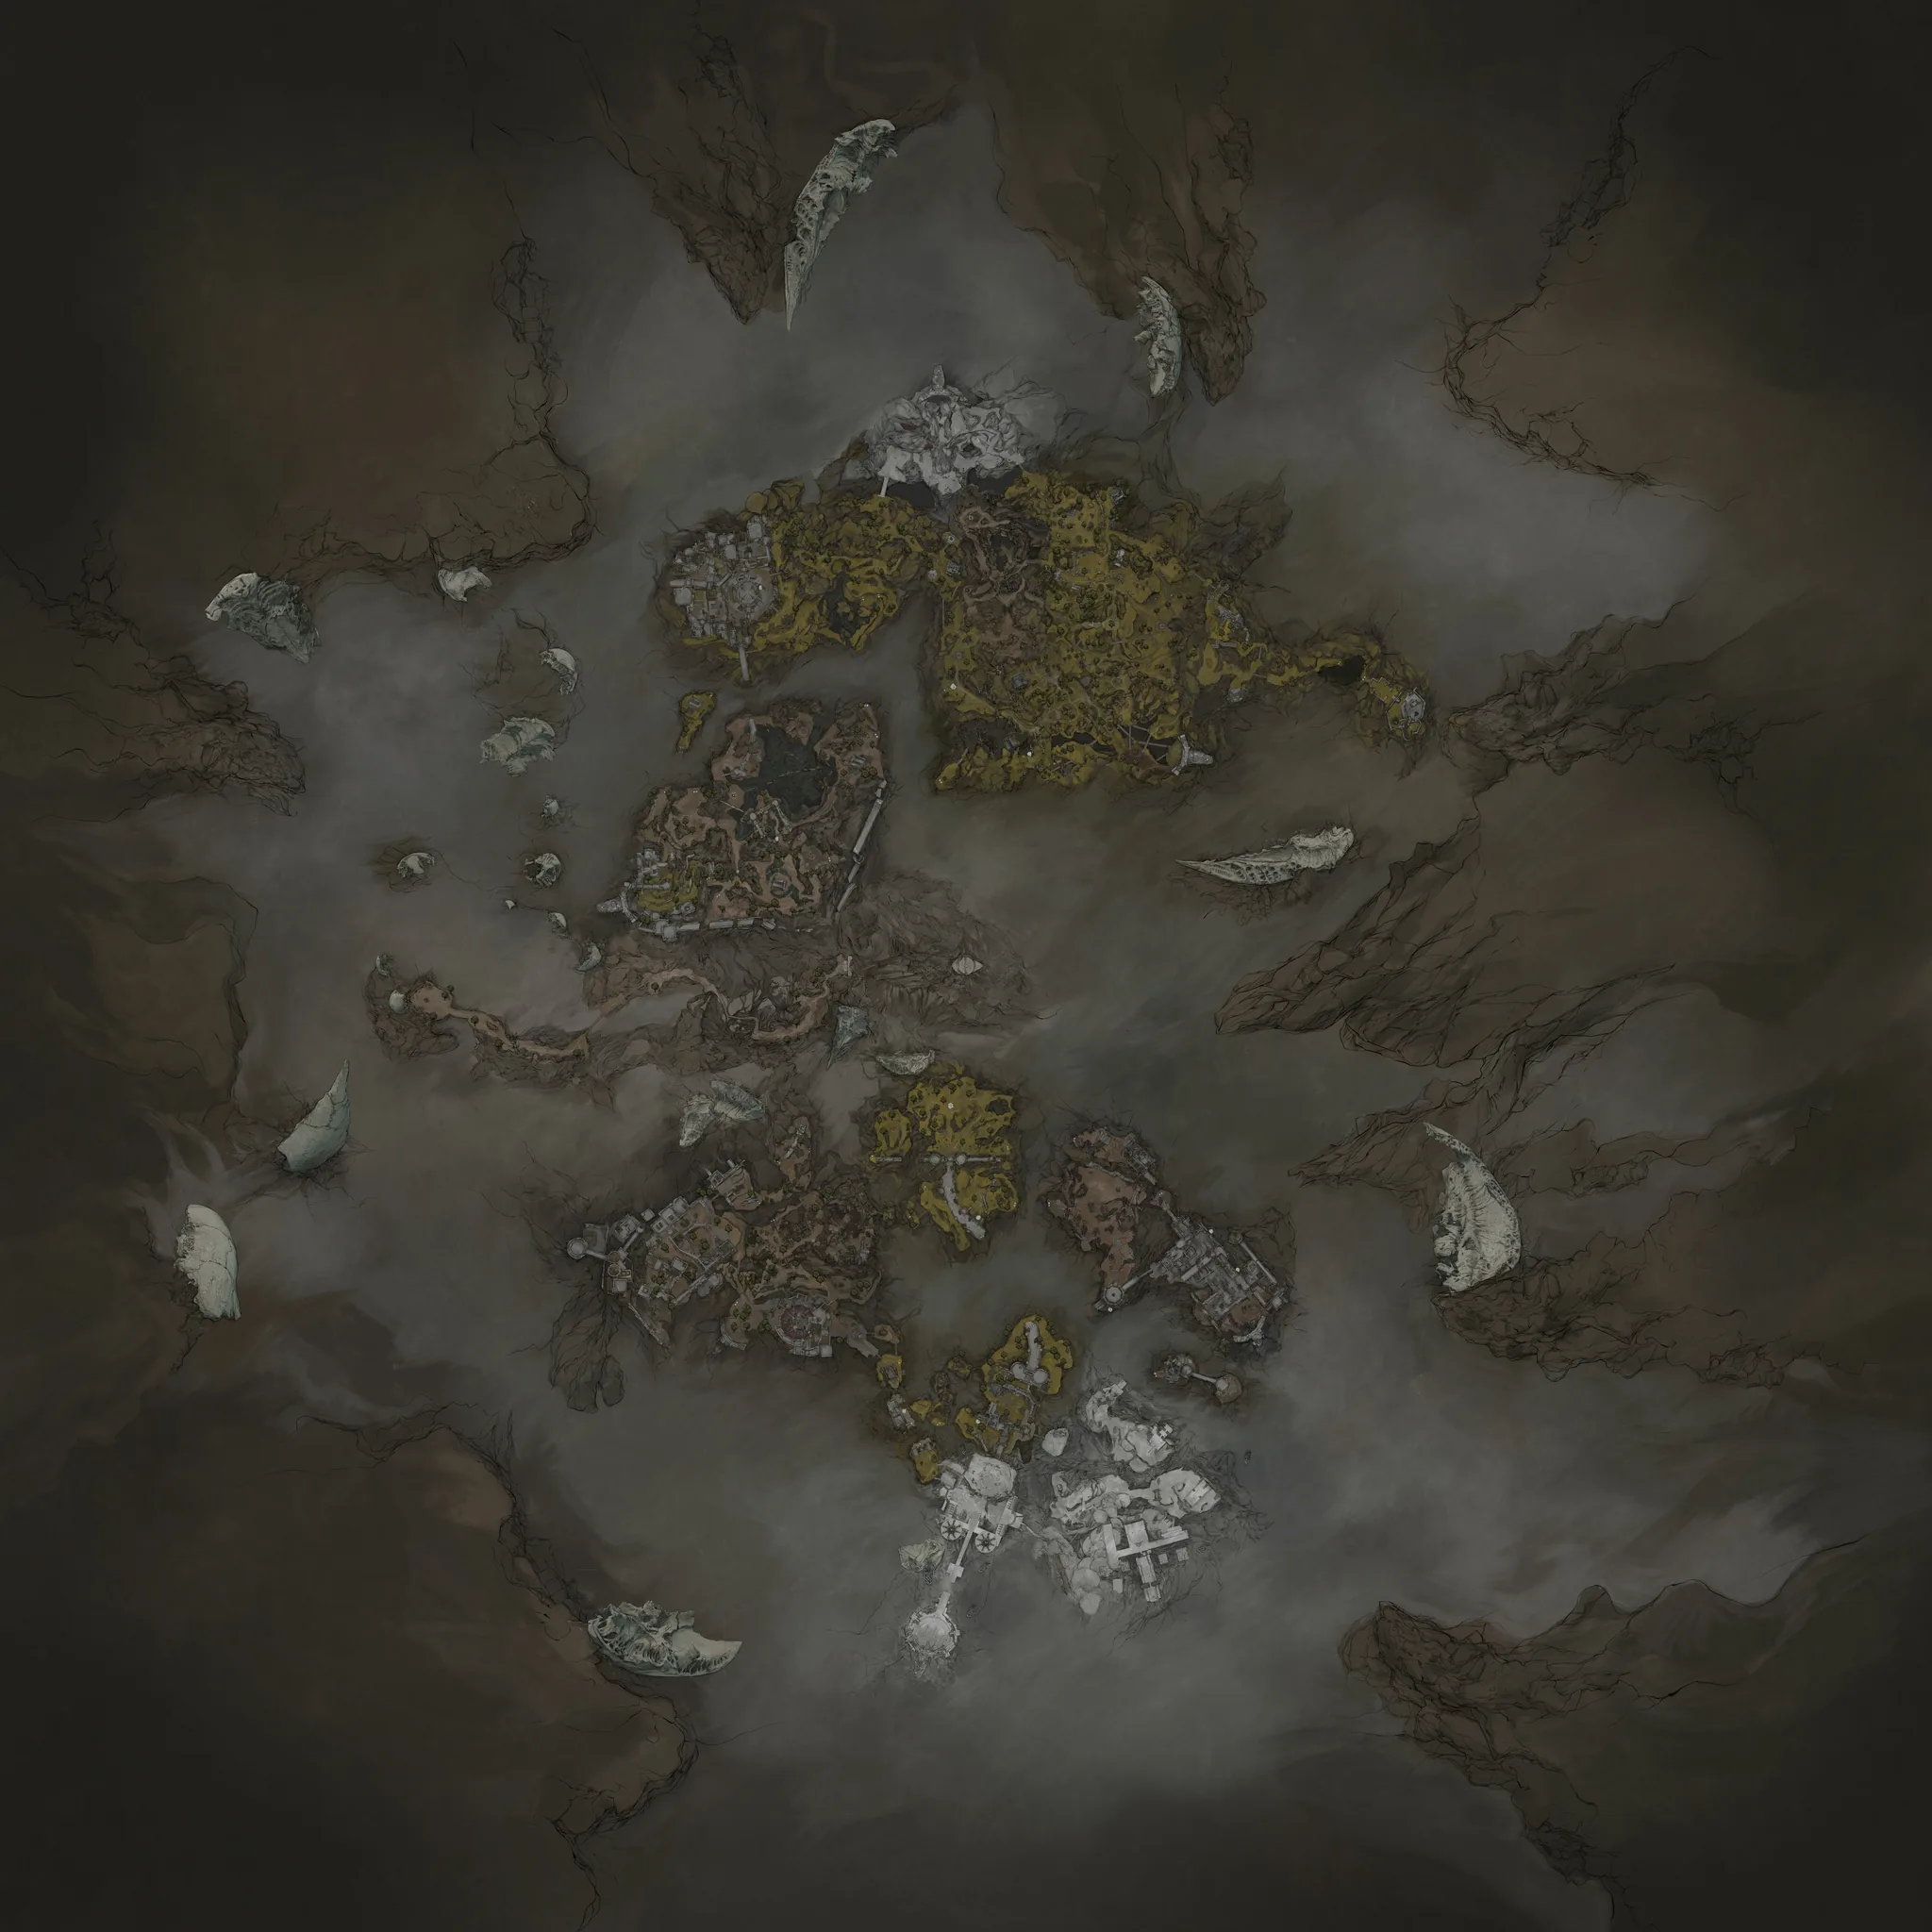
Citadel of Penance — defeat The Warden, northwest of Widow Overlook.
- Begin by heading to Gloomshade Grove, which is located west of Widow Overlook. You can go directly to the second location or play it safe and visit the Gloomshade Grove Beacon first.
- Head to the lake southeast of the Gloomshade Grove Beacon and defeat the Bloodcursed Lithopod. It will drop the Citadel Gate Lever, which you need to access the Citadel of Penance.
- Head to the Gloomshade Grove Beacon and travel west to the Citadel of Penance. Use the Citadel Gate Lever you obtained to access the switch on the right and enter.
- Once you're inside, immediately head all the way to the right to access the Citadel of Penance Beacon.
- Head back to the central area and jump down to the lower levels. Head to the elevator on the right side of the lower area and ride it to get to the upper levels.
- Once you reach the top floor, you will see a wide open area as well as an interactive object on the ground. Be prepared, as The Warden will drop down as soon as you approach the object, which marks the start of the fight.
Eredrim’s Abilities
Eredrim’s abilities define his combat identity — here is what each one does at base level.
| Ability | Type | What It Does |
|---|---|---|
| Shoulder Bash | Active | Lunges with his shoulder, slamming into enemies and dealing Break Damage. |
| Ethereal Diapason | Active | Smashes his Diapason to create a blinding shockwave that deals Break Damage. |
Eredrim Skill Tree — Every Upgrade
Eredrim’s skill tree holds 12 skills. Each level costs one Shell Point; the table below lists every upgrade with its exact effect per level.
| Skill | Tier | Effects by Level |
|---|---|---|
| Alacrity | I | L1 -20% Shoulder Bash Resolve cost · L2 -40% Shoulder Bash Resolve cost · L3 -25% Ethereal Diapson Resolve cost · L4 After killing an enemy witha Riposte, Eredrim's abilities cost No Resolve for 8 sec. |
| Massacre | I | L1 A Riposte grants 2 Slaughterer stacks · L2 A Riposte grants 3 Slaughterer stacks · L3 Killing an enemy with a Riposte grants 10 Slaughterer stacks |
| Apathy | I | L1 Eredrim has 50% Frost mitigation · L2 Eredrim has Frost immunity · L3 Eredrim deals 200% damage to Drozen enemies |
| Anguish | II | L1 Shoulder Bash deals 150% damage · L2 Shoulder Bash inflicts 10 Weak stacks · L3 Shoulder Bash deals massive Stagger Damage |
| Tank | II | L1 0.15% damage reduction per stack · L2 0.18% damage reduction per stack · L3 0.2% damage reduction per stack |
| Consecration | II | L1 Eredrim restores 15 Resolve · L2 Eredrim restores 20 Resolve · L3 Eredrim has 40% chance to fully restore Resolve |
| Radiance | III | L1 Ethereal Diapason deals 30 damage, 50 Break Damage to all enemies in range · L2 Ethereal Diapason deals 50 damage, 60 Break Damage to all enemies in range · L3 Ethereal Diapason inflicts 10 Fragile stacks to all enemies in range · L4 Ethereal Diapason has 200% the range |
| Carnage | III | L1 Executed enemies rupture in a violent burst, spraying blood that deals 50 splash damage · L2 Executed enemies rupture in a violent burst, spraying blood that deals 70 splash damage · L3 Executed enemies rupture in a violent burst, spraying blood that deals 100 splash damage |
| Resonance | III | L1 Suffer from 5 Stasis stacks that last for 6s · L2 Suffer from 10 Stasis stacks that last for 8s · L3 Suffer from 18 Stasis stacks that last for 10s |
| Oppression | IV | L1 Shoulder Bash deals 200% Break Damage · L2 Shoulder Bash deals 250% Break Damage · L3 Shoulder Bash releases a frontal shockwave that inflicts 10 Trauma stacks but costs 20 more Resolve |
| Persistence | IV | L1 Only 50% of Slaughterer stacks are removed upon resting · L2 Only 50% of Slaughterer stacks are removed upon being severed · L3 Only 25% of Slaughterer stacks are removed upon resting · L4 Only 25% of Slaughterer stacks are removed upon being severed |
| Seal Affinity | IV | L1 Parry window is slightly longer · L2 A Riposte deals +20% damage · L3 A Riposte deals +35% damage · L4 Parry window is moderately longer |
Best Eredrim Build
- Excellent Break Damage
- High Survivability
- Strong Crowd Control
- Requires Precise Guard Timing
Core Setup
Eredrim's best build uses Iconoclast and Forgotten Crossbow to wear down Break gauges and control groups. Shoulder Bash weakens enemies, while Perfect Guards create Ripostes that generate Slaughterer stacks for damage reduction.
| Slot | Pick | Why |
|---|---|---|
| Main Weapon | The Iconoclast | The damage engine of the build — see the weapon database. |
| Sidearm | Forgotten Crossbow | Ranged pressure and opening utility. |
For the full Shell Point allocation and Tarstone breakdown, head to the builds page.
All Mortal Shell 2 Shells
Every playable Shell in the game — jump straight to its guide.
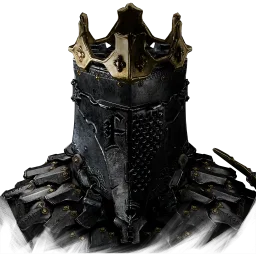 Eredrim
 Genessa
 Gragu
Gragu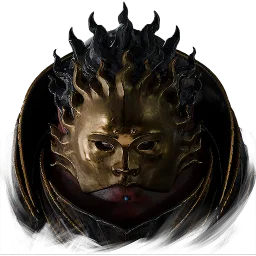 Lazlo
Lazlo Proxima
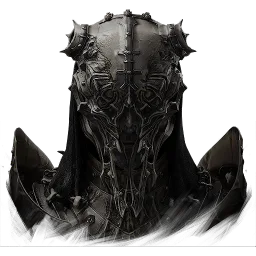 Sariel
 Smert
Smert Tiel
Tiel