Mortal Shell 2 Lazlo The Justiciar Guide
Heat-based bruiser — Retribution shockwaves + Fortified Plate.
Lazlo Quick Facts
Location
Royal Crypt of Mammon (Vellen boss)
Combat Role
Heat-based bruiser — Retribution shockwaves + Fortified Plate.
Best Build
Axatana + Ballistazooka. Jump to build ↓
How to Get Lazlo The Justiciar
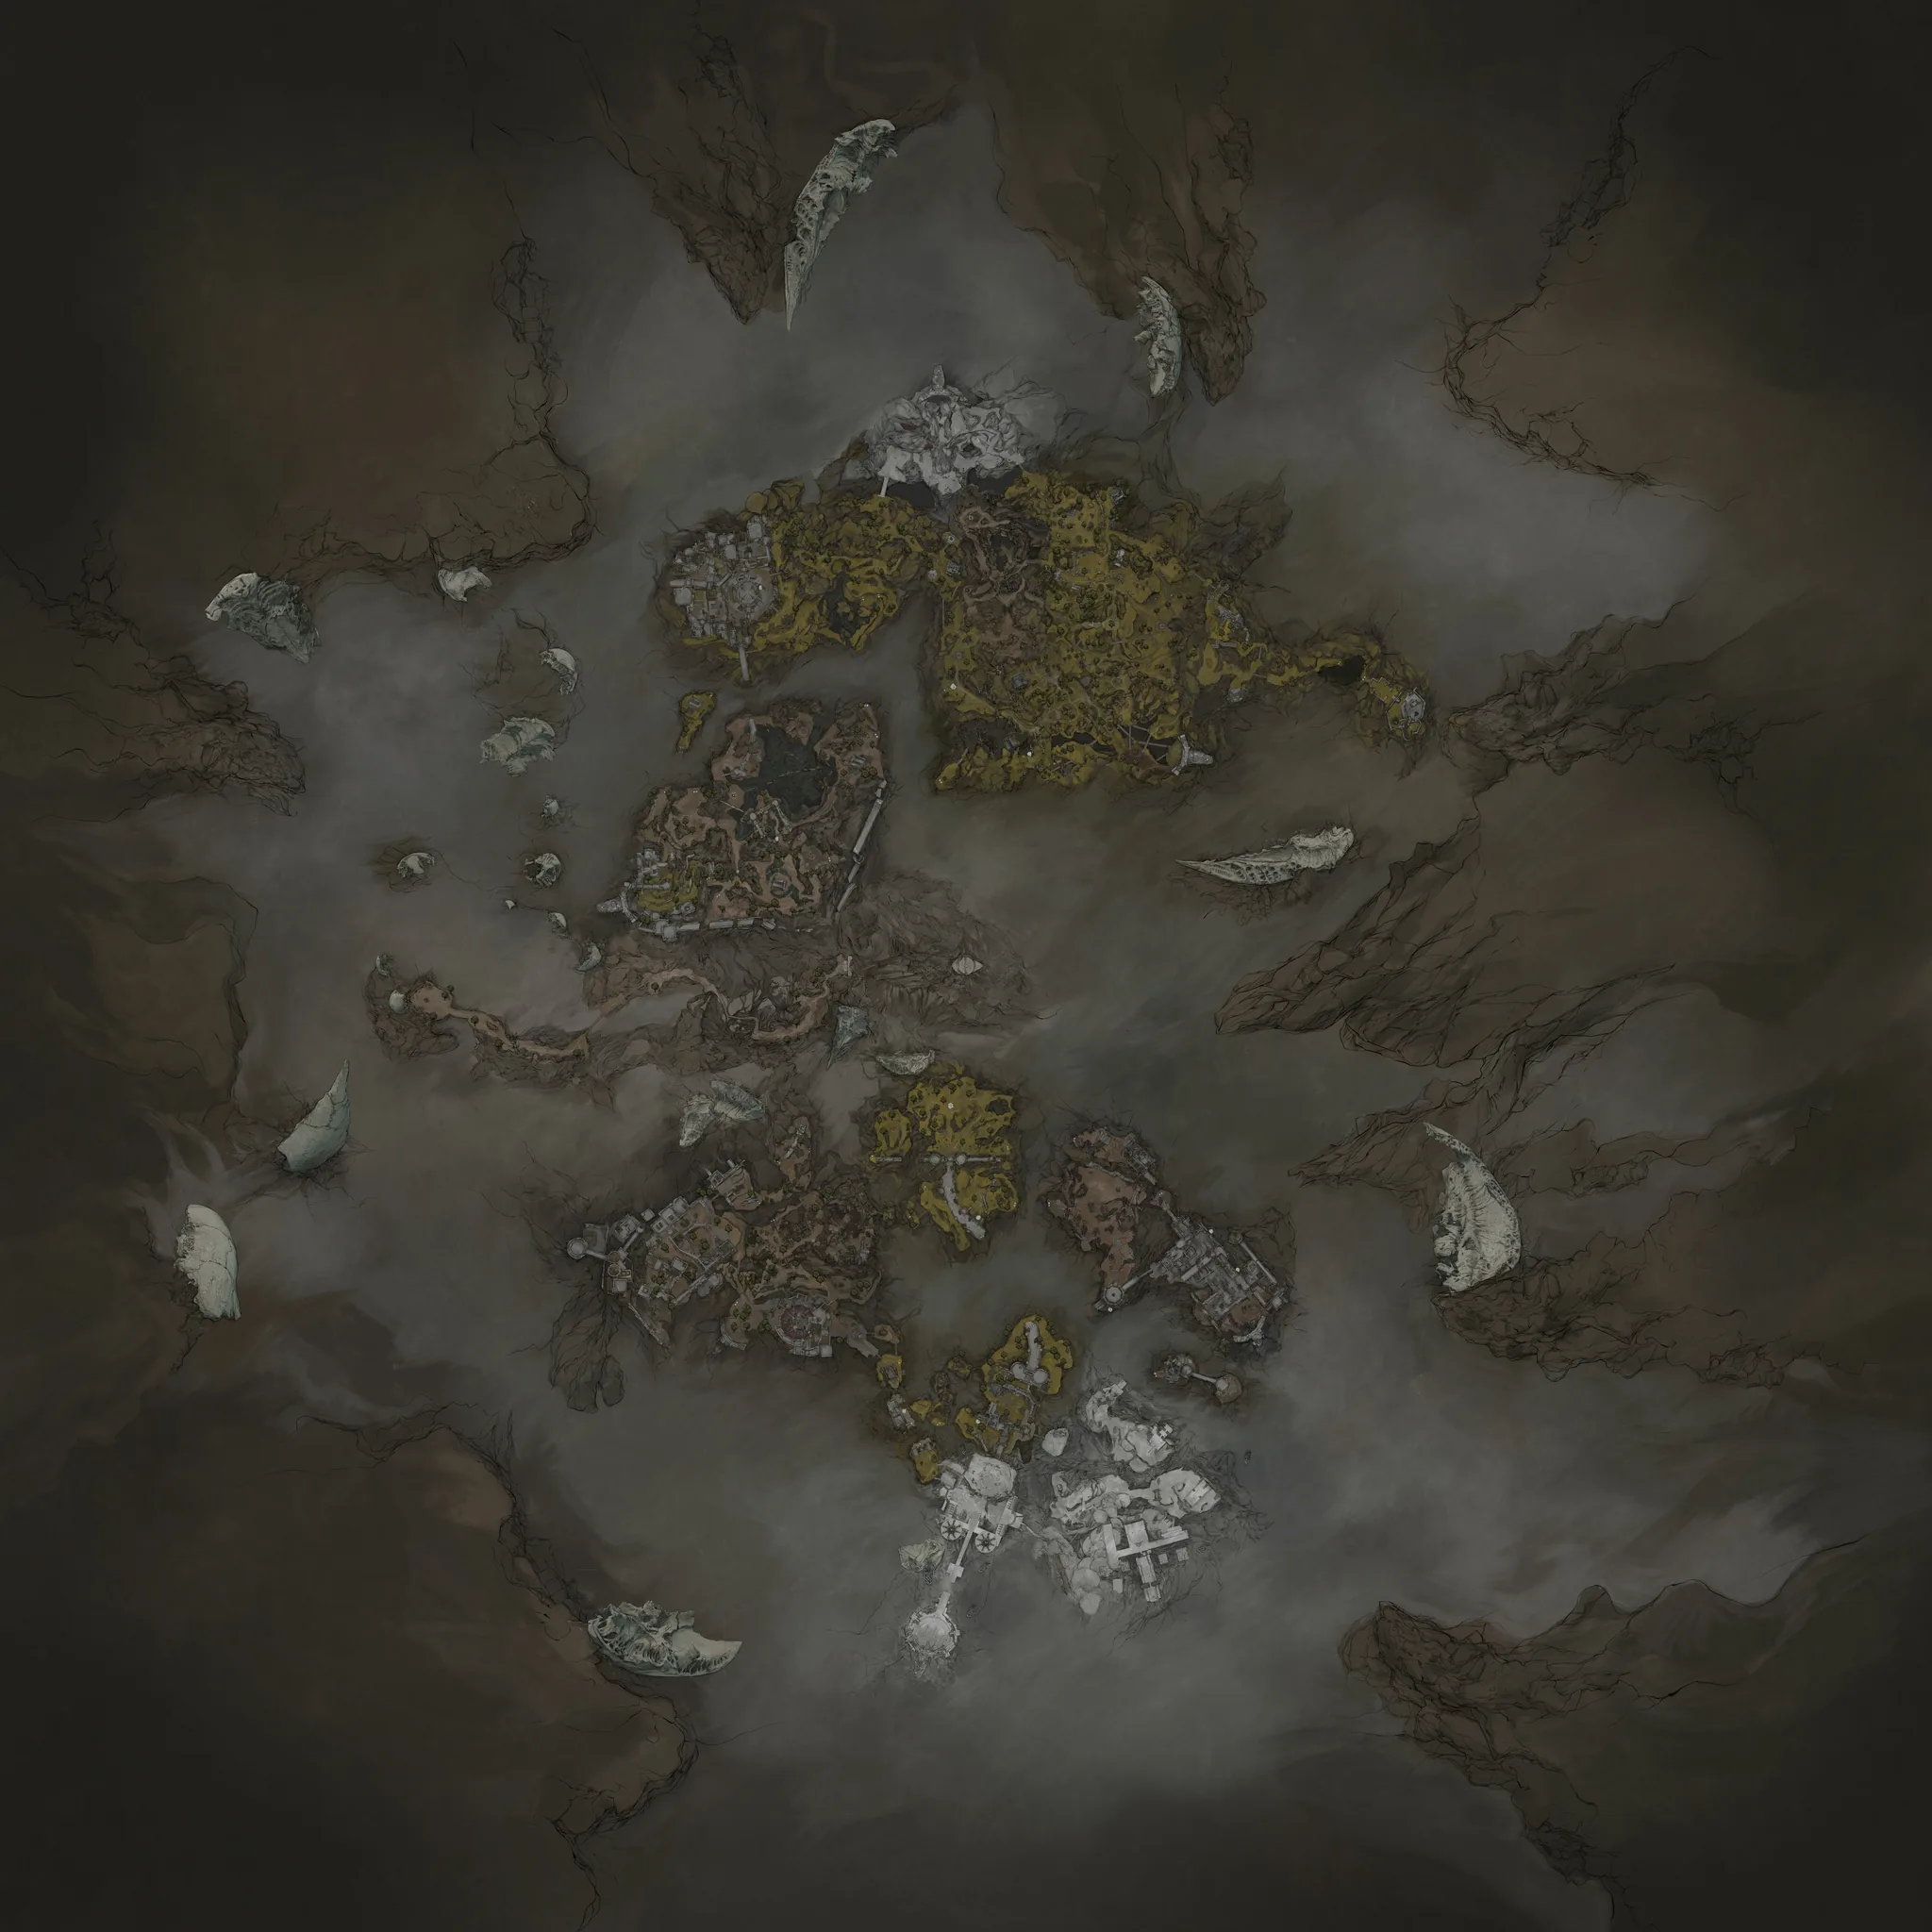
Royal Crypt of Mammon — southwest of the map, defeat Vellen.
Head to the map marker for Lazlo — the exact route is being pinned down by player reports and will be added here once confirmed.
Lazlo’s Abilities
Lazlo’s abilities define his combat identity — here is what each one does at base level.
| Ability | Type | What It Does |
|---|---|---|
| Retribution | Active | Heats his armor, unleashing a Shockwave; repeated use causes Overheat. |
| Fortified Plate | Passive | Base 10% damage reduction while his armor is on. |
Lazlo Skill Tree — Every Upgrade
Lazlo’s skill tree holds 12 skills. Each level costs one Shell Point; the table below lists every upgrade with its exact effect per level.
| Skill | Tier | Effects by Level |
|---|---|---|
| Worthy Armor | I | L1 Retribution costs 20% less Resolve · L2 Retribution costs 30% less Resolve · L3 Retribution costs 40% less Resolve |
| Warmed Up | I | L1 Lazlo deals up to 30% more damage · L2 Lazlo gains up to 35% more Resolve from melee attacks · L3 Lazlo's armor provides up to 10% more damage reduction |
| Inner Fire | I | L1 Lazlo has 50% Burn mitigation · L2 Lazlo has Burn damage immunity · L3 Lazlo receive 5 Warp stacks when affected by Burn |
| Temperament | II | L1 Unleashed shockwaves deal 130% damage · L2 Unleashed shockwaves deal 160% damage · L3 Unleashed shockwaves cover a much larger radius · L4 Overheated shockwaves ignite the ground for 5s |
| Adaptation | II | L1 Armor cooldown reduced by 2s · L2 Armor cooldown reduced by 3s · L3 Armor cooldown reduced by 4s |
| Incandescence | II | L1 Lazlo's Heat Meter fills by 20% · L2 Lazlo's Heat Meter fills by 35% · L3 Lazlo's Heat Meter fills by 50% |
| Breaker | III | L1 Unleashed shockwaves deal 15 Break Damage · L2 Unleashed shockwaves deal 20 Break Damage · L3 Overheated shockwaves have 15% chance to instantly Break enemies |
| Furnace | III | L1 Enemies suffer from 2 Burn stacks when striking Lazlo · L2 Damage reduction increases by +10% · L3 Lazlo has 50% chance to survive a fatal blow |
| Detonation | III | L1 Lazlo's Armor unleashes one last shockwave that deals 120 damage · L2 The shockwave ignites the ground for 12s · L3 The shockwave covers +50% the radius |
| Inflamed | IV | L1 Heat Meter no longer drains over time · L2 Overheated shockwaves no longer consume Resolve and inflict 10 Burn stacks · L3 Overheated shockwaves have 30% chance to not deactivate Lazlo's Armor · L4 Overheated shockwaves cure all negative conditions on Lazlo |
| Rekindle | IV | L1 Restores 1 Health every 1s as it drains · L2 Restores 1 Resolve every 1s as it drains · L3 Restores 15 Health and Resolve when fully empties |
| Rush | IV | L1 Lazlo gains 10 Warp stacks · L2 Lazlo gains 20 Warp stacks · L3 Lazlo has +15% Critical Hit chance · L4 Lazlo has +20% Critical Hit chance |
Best Lazlo Build
- High Critical Hit Chance
- Rapid Resolve Generation
- Strong Melee and Ranged Burst
- Requires Heat and Resolve Setup
Core Setup
Lazlo's best build uses Axatana and Ballistazooka to capitalize on critical hit chance from Overheat and Rush. Worthy Armor cuts Retribution cost while Warmed Up and Duality Stone recover Resolve fast.
| Slot | Pick | Why |
|---|---|---|
| Main Weapon | Axatana | The damage engine of the build — see the weapon database. |
| Sidearm | Ballistazooka | Ranged pressure and opening utility. |
For the full Shell Point allocation and Tarstone breakdown, head to the builds page.
All Mortal Shell 2 Shells
Every playable Shell in the game — jump straight to its guide.
 Eredrim
 Genessa
 Gragu
Gragu Lazlo
Lazlo Proxima
 Sariel
 Smert
Smert Tiel
Tiel