Mortal Shell 2 Proxima the Broodseeker Guide
Proxima, the Broodseeker — one of the first Shells most players will find, and one of the most versatile in the early game.
Proxima Quick Facts
Location
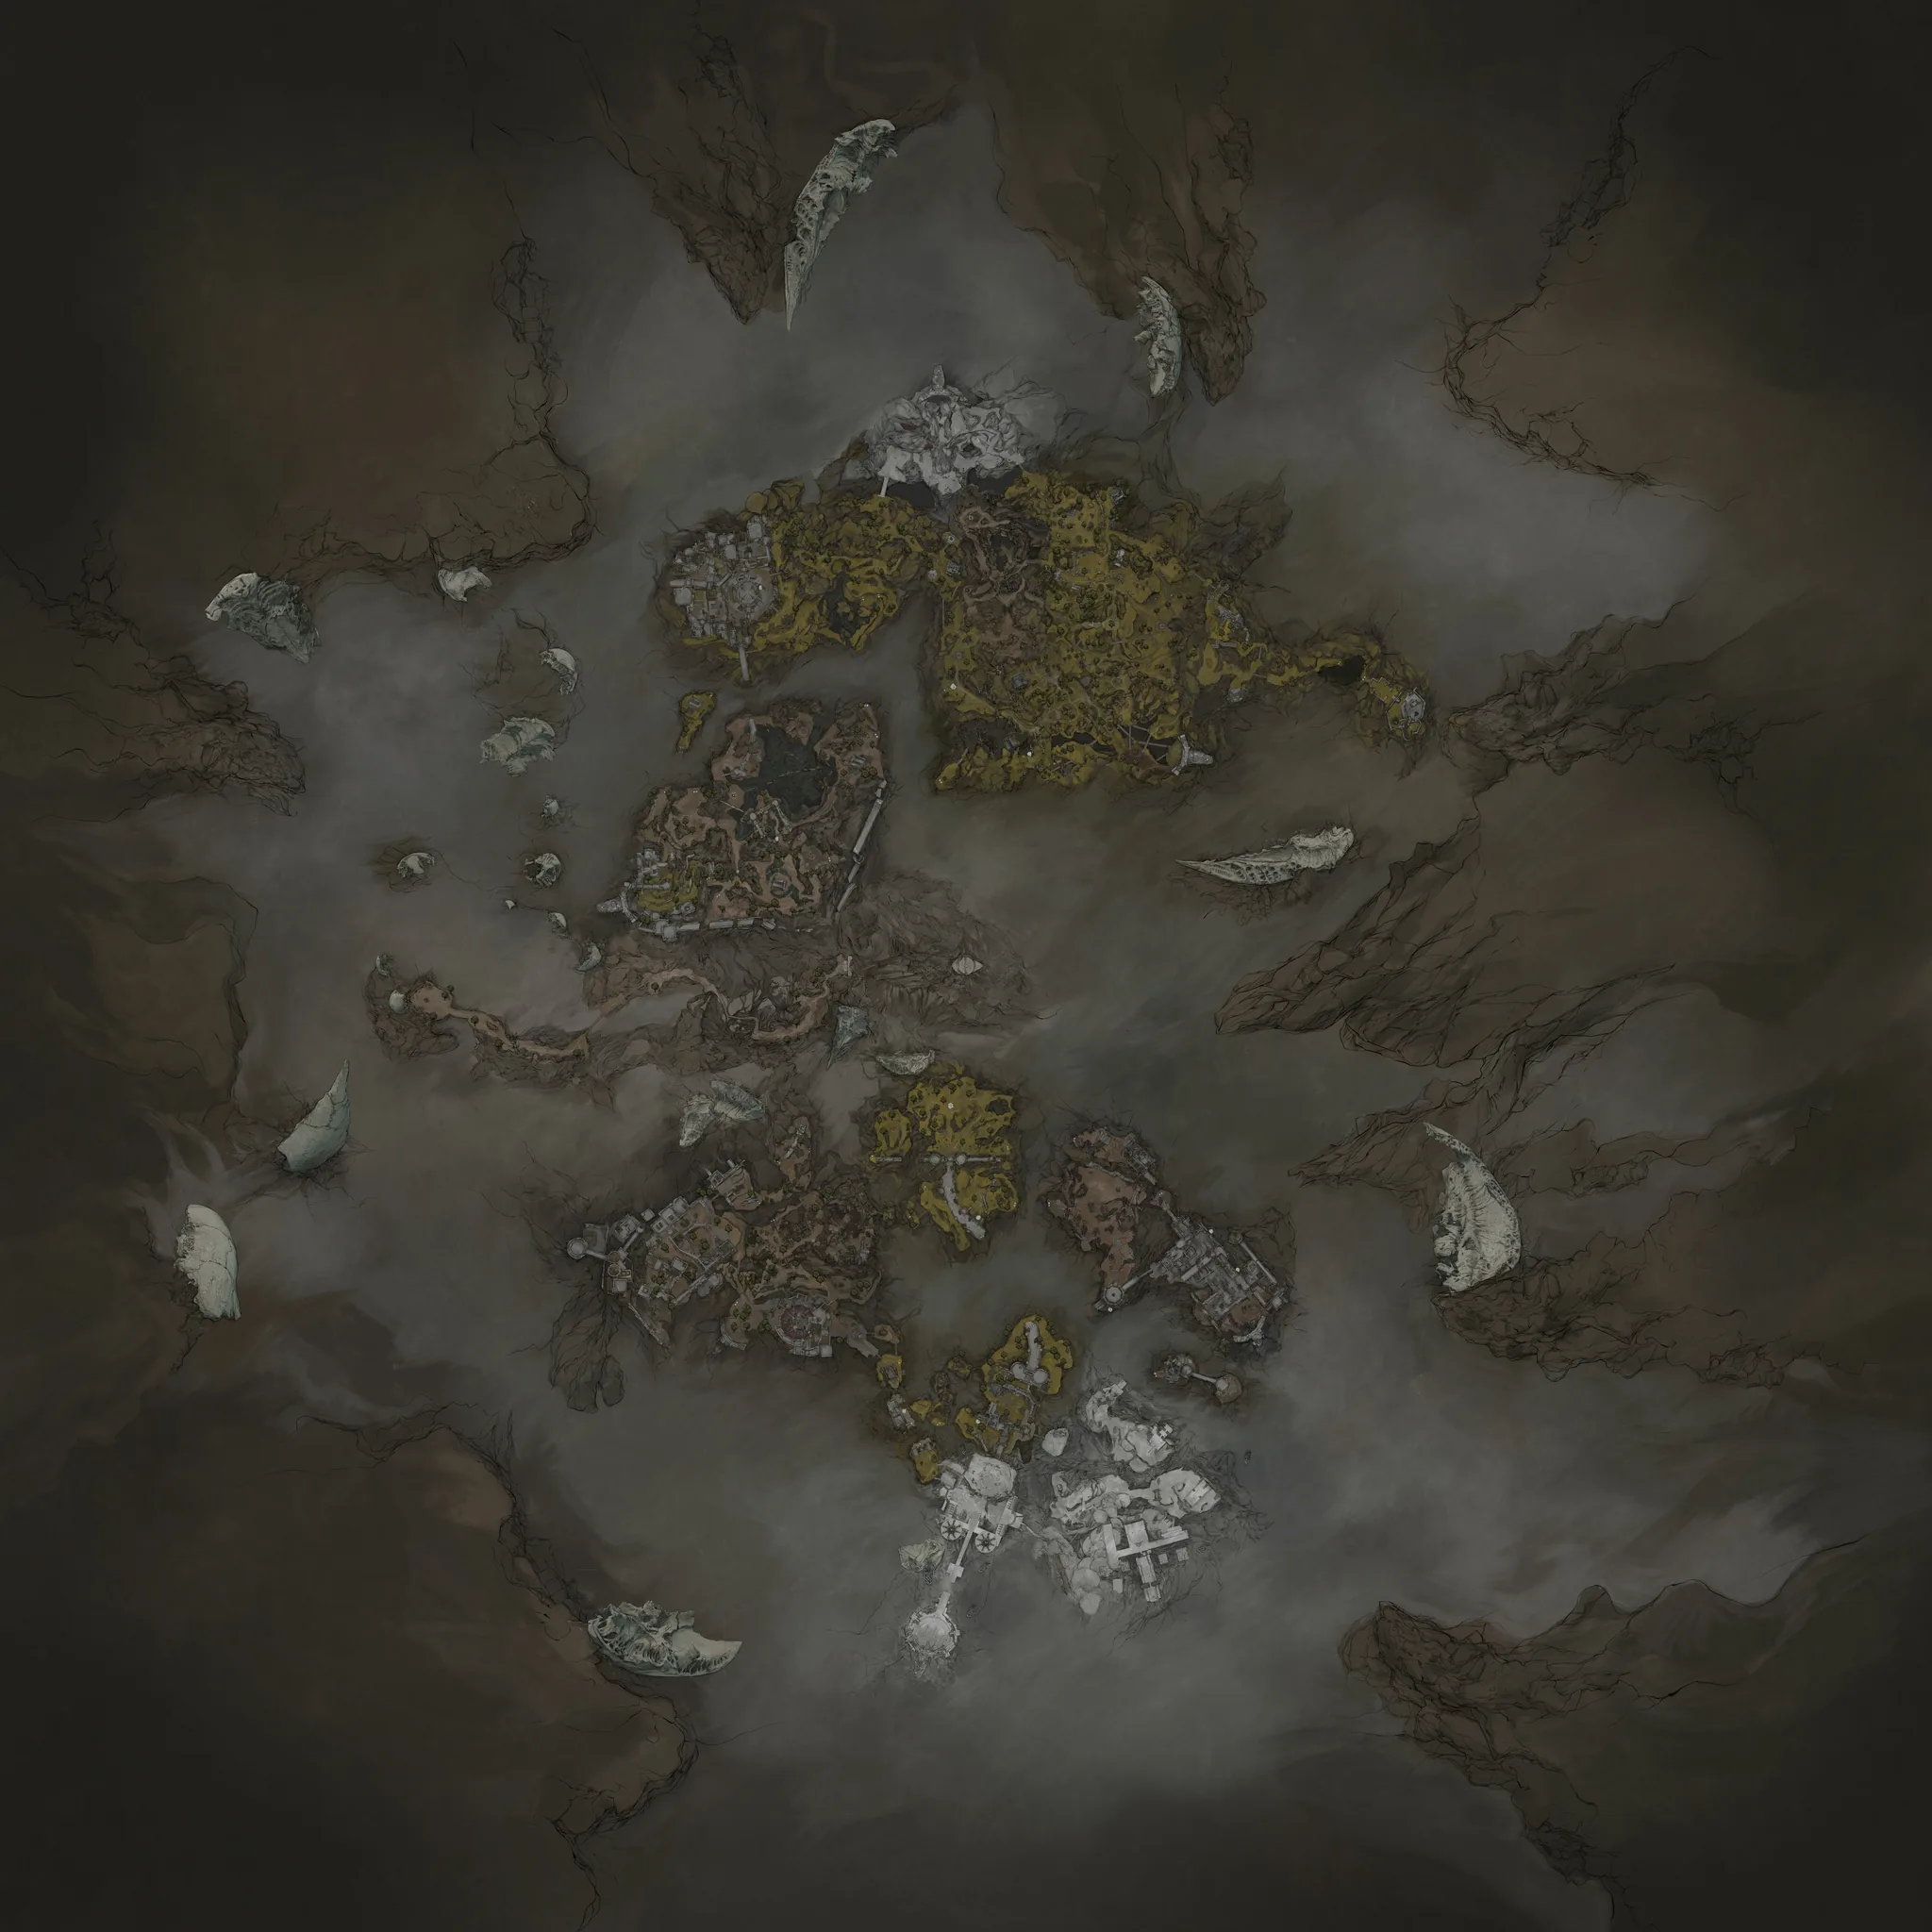
Shattered Beacon, northeast of Blackridge Pass — reachable right after the prologue.
Combat Role
Gap-closer with Biosampler (hook + Lightning) and a chance-based defensive layer via Grafted Armor.
Best Build
Axatana + Triarch Repeater, Lightning-infusion Tarstones, Biohunter & Seizure skills. Jump to build ↓
How to Get Proxima the Broodseeker
You can get Proxima in the opening open-world region after finishing the prologue's Marrowkeep sequence. Her Shell is at the Shattered Beacon, northeast of Blackridge Pass, so you do not need to push deep into the game before adding the Broodseeker to your options.
- Finish the Marrowkeep prologue. The route opens once the tutorial sequence hands you over to the open world.
- Head northeast of Blackridge Pass. Follow the path toward the high ground; the Shattered Beacon sits on the far side of the pass.
- Enter the Shattered Beacon. You will pass an Infested Stalker nearby — it can be safely ignored on the way in.
- Interact with the corpse inside. Playing Proxima's memory triggers the possession, and her Shell is yours.
The exact turn-by-turn route is still being pinned down. Player reports consistently place the Shattered Beacon northeast of Blackridge Pass, but smaller navigation details have not been fully documented yet.
Player reports describe the fastest route as taking well under an hour from the start. Treat that as a routing estimate rather than a promise: how much you explore, fight or stop to inspect on the way will change your time.
Once you reach the landmark and possess Proxima, spend a few encounters learning when Biosampler moves the enemy and when it moves you. That distinction decides whether the hook creates a clean opening or carries you into pressure you were not ready to handle.
Proxima's Abilities
Proxima's abilities give you two very different forms of control. One changes what happens when a hit reaches you; the other changes the distance between you and the target. Together they make her adaptable, but neither replaces careful positioning.
| Ability | Type | What It Does |
|---|---|---|
| Grafted Armor | Passive | Base 15% chance to mitigate melee or ranged damage. When it triggers, damage is reduced by 50% and the hit does not stagger her. |
| Biosampler | Active | Fires a hook from her left arm, pulling an enemy toward her or pulling Proxima into range, setting up a follow-up attack that inflicts Lightning. |
Build your decisions around the moves you can control, then treat Grafted Armor as a safety net when it activates rather than permission to trade every hit. Biosampler is both a gap-closer and a way to separate a target from the pack — read the space behind and around the target before firing.
Proxima Skill Tree — Every Upgrade
Proxima's skill tree holds 12 skills in four tiers. Each level costs one Shell Point, and the skills split between buffing Biosampler (Biohazard, Seizure, Discharge, Attunement) and buffing Grafted Armor (Exoshell, Fortress, Reflection, Shellshock), with Ampereon, Biohunter, Collector and Energize rounding out the tree.
| Skill | Tier | Effects by Level |
|---|---|---|
| Attunement | I | L1 Biosampler costs 20% less Resolve · L2 30% less · L3 50% less |
| Exoshell | I | L1 +100% mitigation chance while using Biosampler · L2 +25% while aiming · L3 +30% after dodging · L4 +30% while sprinting |
| Ampereon | I | L1 +50% Lightning mitigation · L2 Lightning immunity · L3 Shock damage and radius doubled |
| Biohazard | II | L1 Biosampler deals 150% more damage · L2 +3 Lightning stacks · L3 180% more damage · L4 +5 Lightning stacks |
| Reflection | II | L1 15% chance projectiles deal no damage · L2 35% chance · L3 nullified projectiles reflect back 100% |
| Biohunter | II | L1 +0.5% permanent damage per sample (up to 15%) · L2 +0.8% (up to 20%) · L3 +1% (up to 30%) |
| Seizure | III | L1 Biosampler inflicts 20 Stasis stacks · L2 50 splash + 100 Stagger damage · L3 80 splash + 150 Stagger damage |
| Shellshock | III | L1 Gain 10 Resolve · L2 Gain 15 Resolve · L3 Inflict 10 Lightning stacks on the attacker |
| Collector | III | L1 20% chance to harvest a Specimen · L2 40% chance · L3 35% chance to harvest +2 |
| Discharge | IV | L1 Biosampler knockback + Lightning storm for 6s · L2 9s · L3 10s |
| Fortress | IV | L1 Mitigated damage effectiveness +110% · L2 +115% · L3 +122% · L4 +133% |
| Energize | IV | L1 Grafted Armor always mitigates for 8s · L2 Shockwave inflicts 15 Lightning stacks · L3 30% chance to fully restore Resolve |
Proxima has five Shell Memories — "A Bad Deal," "A Life For A Life," "The Endeavor," "The Exchange" and "The Weapon." Each costs 500 Gloom and pays back the same 500, so viewing all five means 2,500 Gloom in and 2,500 back: a straight refund, not an investment.
Best Proxima Build — Lightning Proxima
The Lightning Proxima build turns Biosampler's hook into a combo starter: pull a target in, stack Lightning and Stasis, then punish with charged heavy attacks from the Axatana. It trades some defensive comfort for the highest early burst damage Proxima can reach.
- Excellent mobility
- High burst damage and DoT
- Can inflict Stasis for openings
- Lacks Resolve sustain
Weapon & Sidearm
| Slot | Pick | Why |
|---|---|---|
| Main Weapon | Axatana | Charged light attacks deal huge damage and recover Resolve — the build's damage engine. |
| Sidearm | Triarch Repeater | Deals Break Damage at fight start, preparing enemies for a Riposte. |
Tarstone Setup
| Slot | Tarstone | Effect |
|---|---|---|
| Primary | Voltaic Crown | Consumes 30 Resolve to infuse your weapon with Lightning (4 / 8 / permanent strikes). |
| Primary | Duality Stone | Light attack combo strikes twice — doubles Axatana output and speeds Resolve recovery. |
| Primary | Acolyte's Stone | Consume 15 Resolve for a Charged Light Attack; 15% crit chance, 150% crit damage. |
| Support | Marksman's Stone / Deadeye Stone | Ranged crit chance +10/12/15% and ranged crit damage +20/30/40% for the Repeater. |
| Support | Auspicious Stone / Headman's Stone | Melee crit chance +10/15/18% and melee crit damage +50/80/100% for the Axatana. |
Shell Point Allocation (30 points)
| Skill | Level | Points | Why |
|---|---|---|---|
| Biohunter | 3 | 6 | Core damage stacking — up to +30% permanent damage per sample. |
| Biohazard | 4 | 10 | Maxes Biosampler damage and Lightning stacks. |
| Attunement | 3 | 6 | 50% cheaper Biosampler lets you spam the hook. |
| Exoshell | 2 | 3 | Mitigation while hooking and aiming keeps the combo safe. |
| Seizure | 2 | 3 | Stasis stacks create the punish window for charged attacks. |
| Ampereon | 1 | 1 | Lightning mitigation against the element you inflict. |
| Discharge | 1 | 1 | Knockback + storm extension on the finisher. |
Seal, Items & Combat Loop
- Seal: Untarnished Seal — time a Perfect Guard to block and deal Break Damage, opening enemies for a Riposte.
- Active item: Common Moonshine — recovers Resolve to keep the loop running.
- Passive item: Grisha Remnant — attacks have a chance to summon a Grisha and stagger the target.
Combat loop: open with the Triarch Repeater for Break Damage → Biosampler to close the gap and stack Lightning/Stasis → charged Axatana heavy attack while the target is staggered → repeat. Biohunter's permanent damage makes every sample you harvest along the way a long-term buff.
Late in the game, keep maxing Seizure and Biohazard for more Stagger damage and Lightning stacks. If you are farming Coins instead, swap two points into Collector — each Specimen it harvests sells for 100 Coins at any merchant.
All Mortal Shell 2 Shells
Every playable Shell in the game — jump straight to its guide.
 Eredrim
 Genessa
 Gragu
Gragu Lazlo
Lazlo Proxima
 Sariel
 Smert
Smert Tiel
Tiel